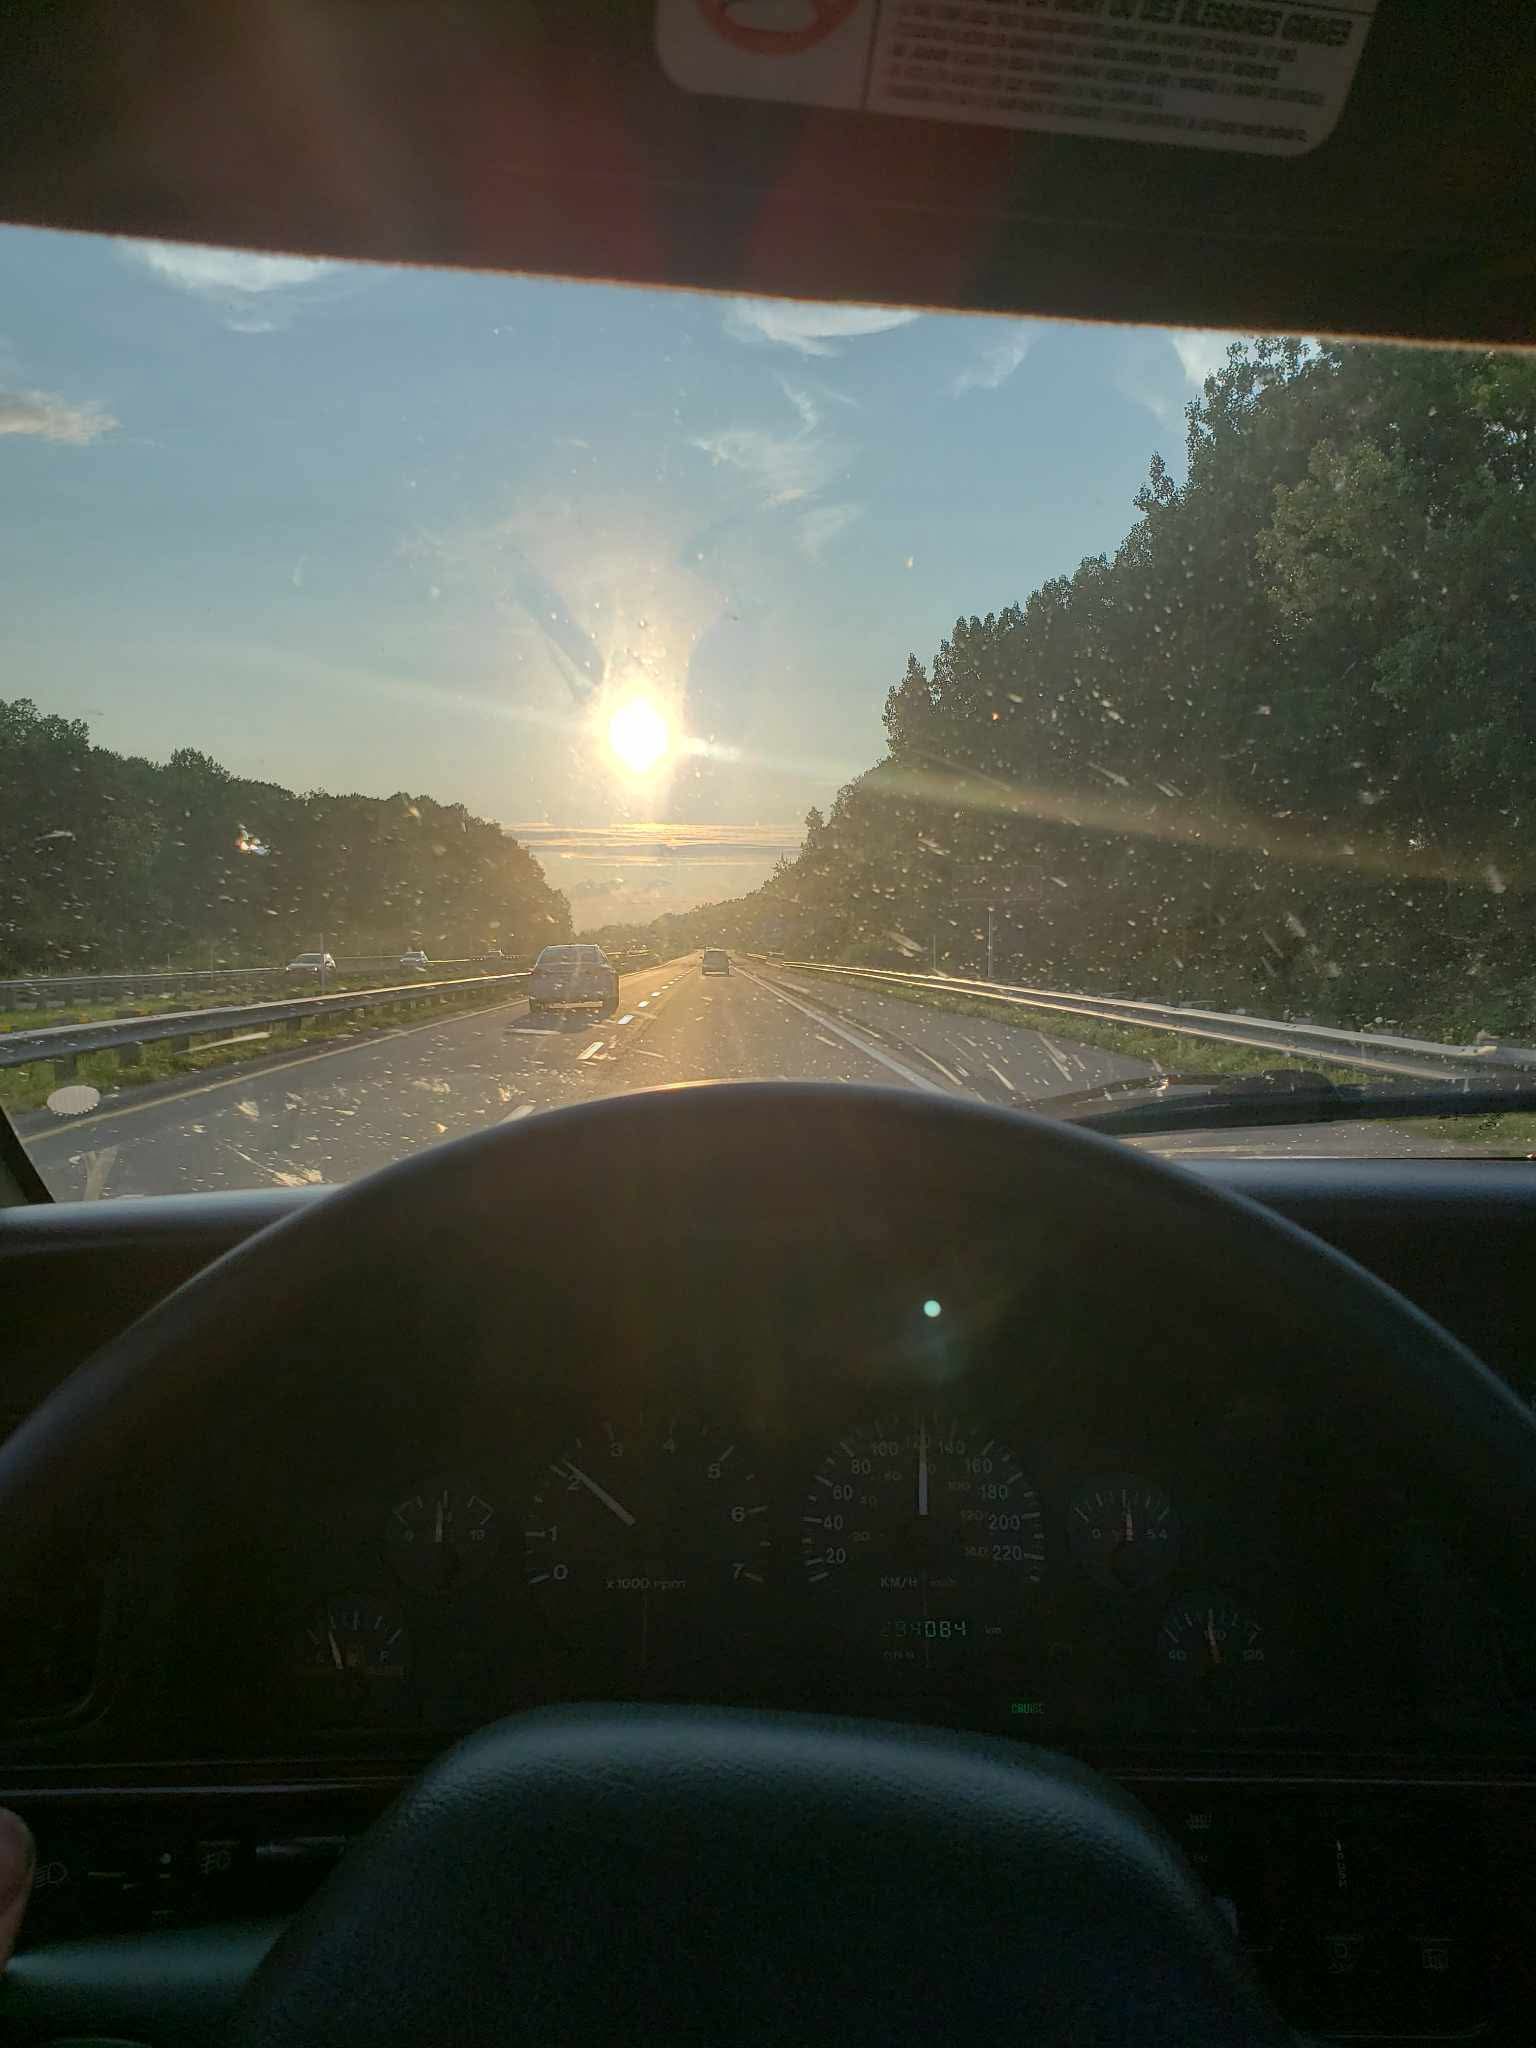
Part 1 — the pre-purchase inspection covers how I found the Jeep and what I saw before it went to the shop.
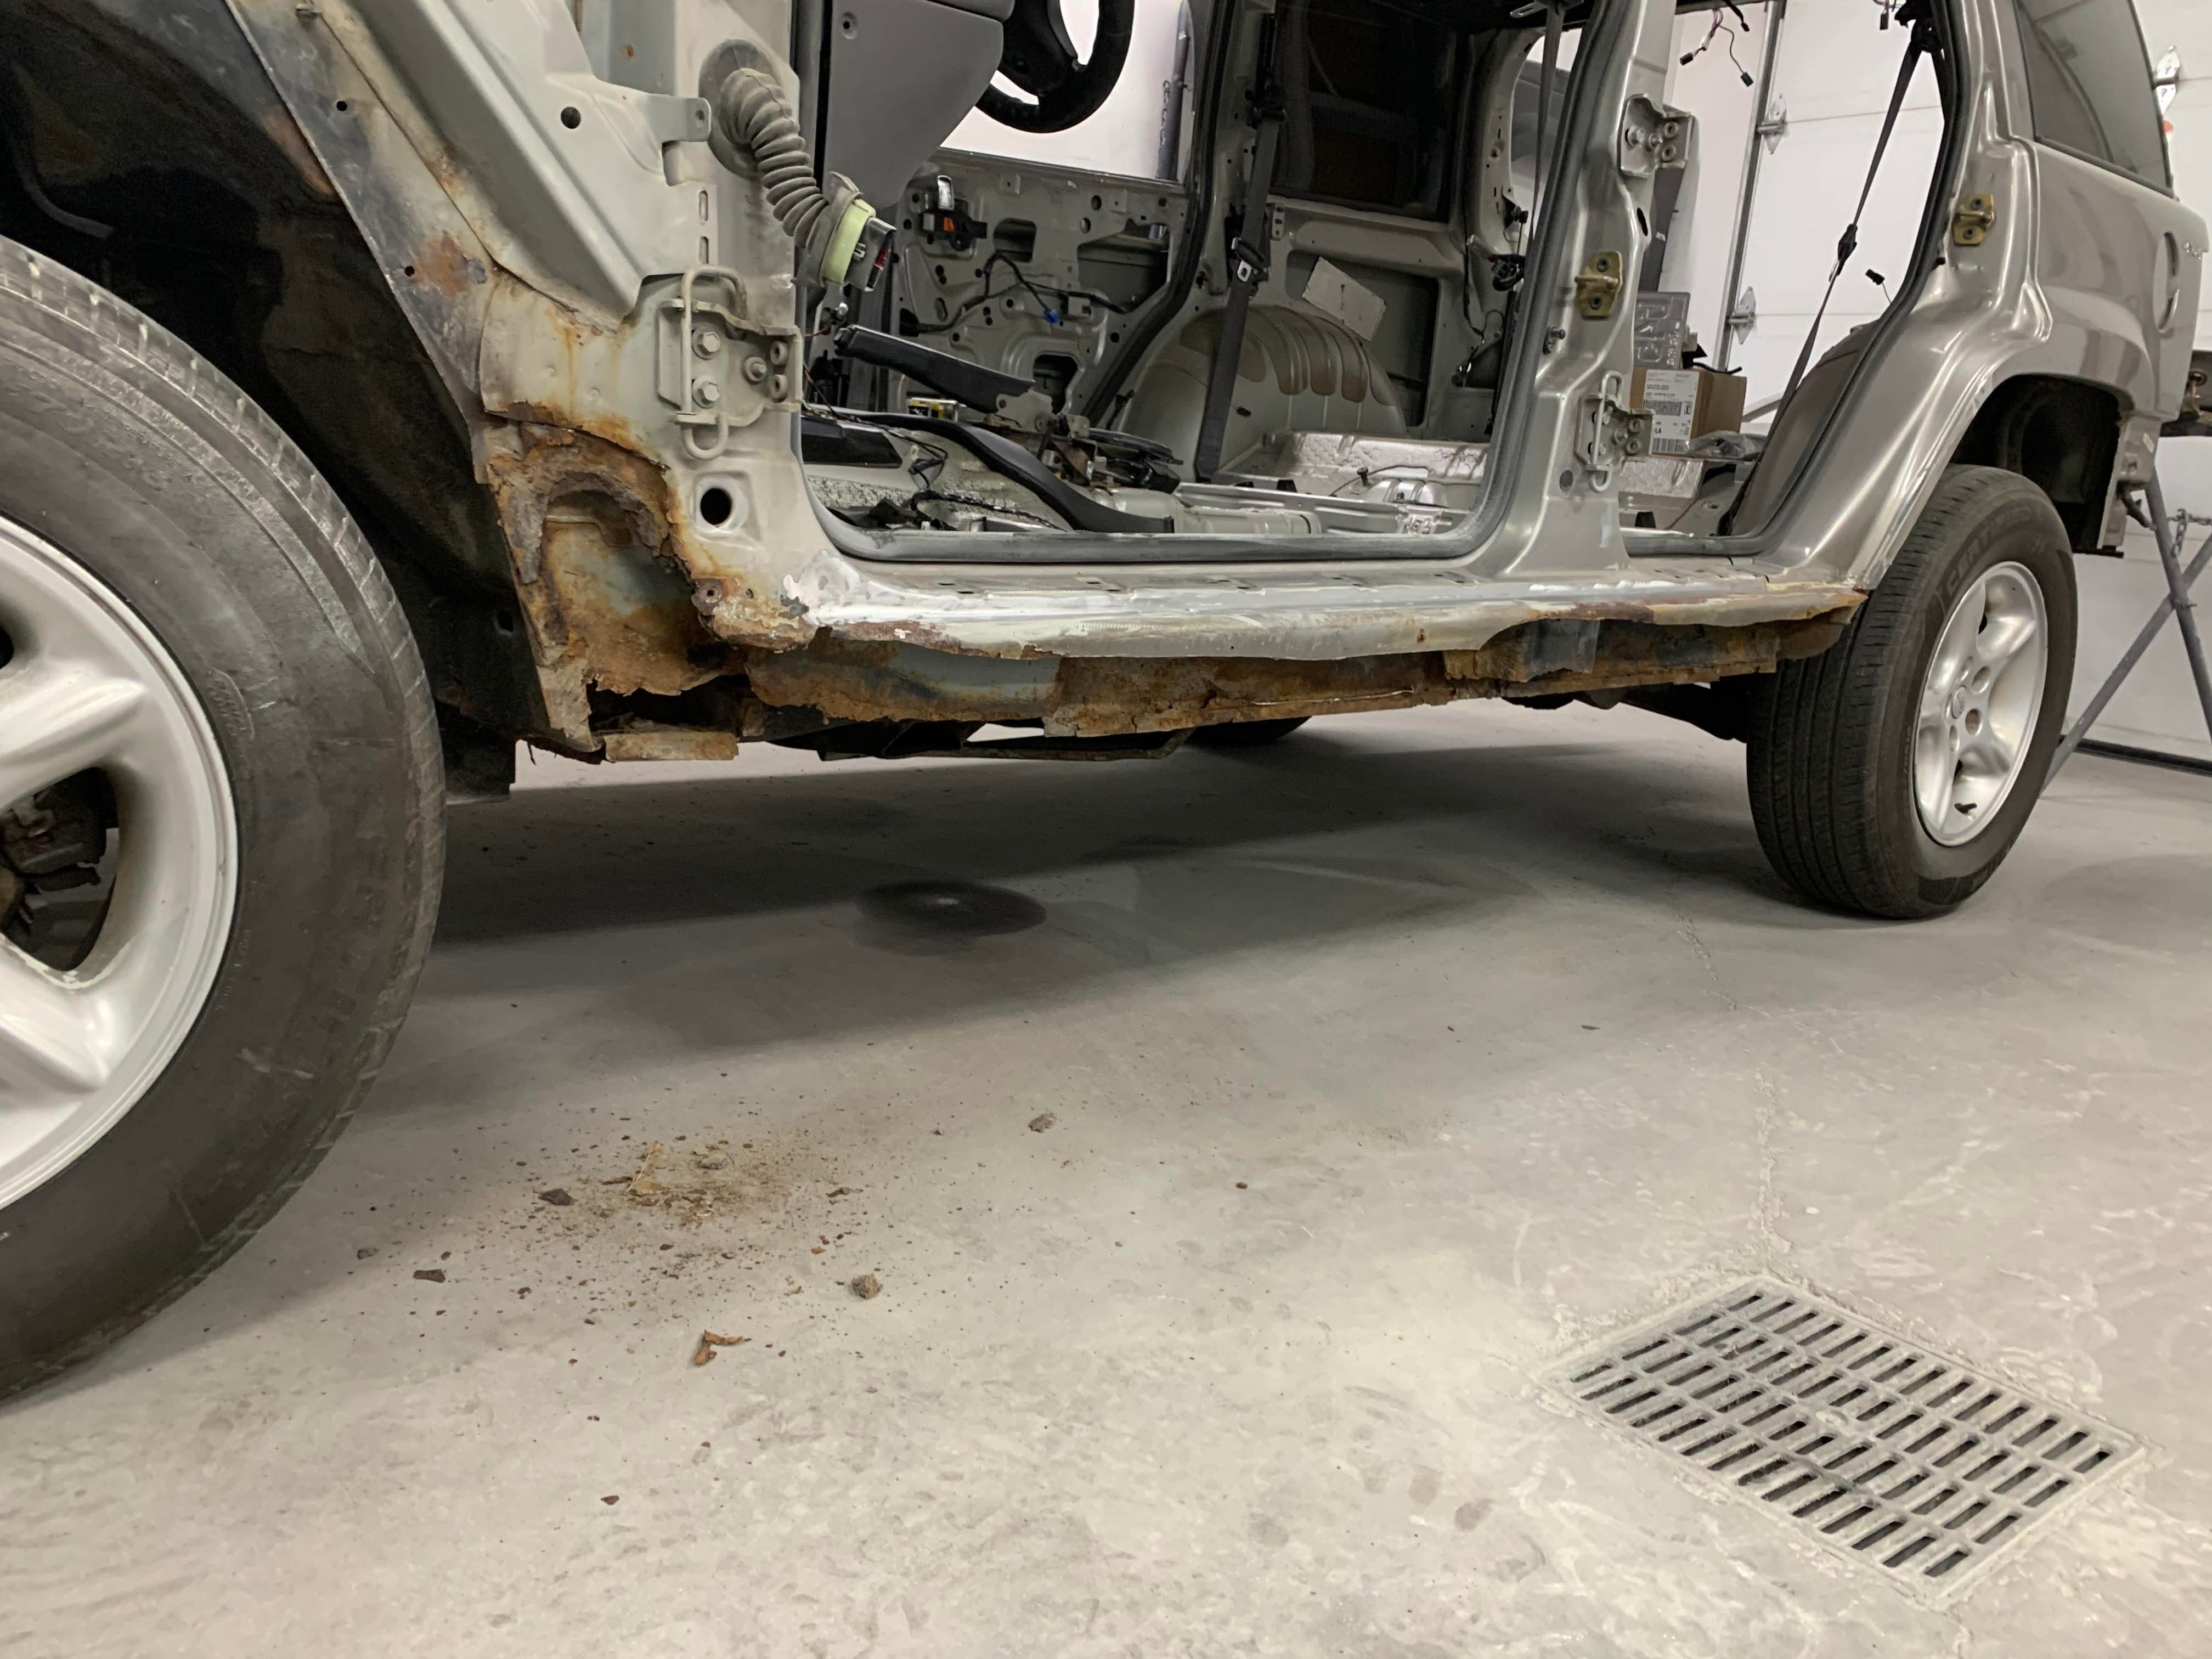
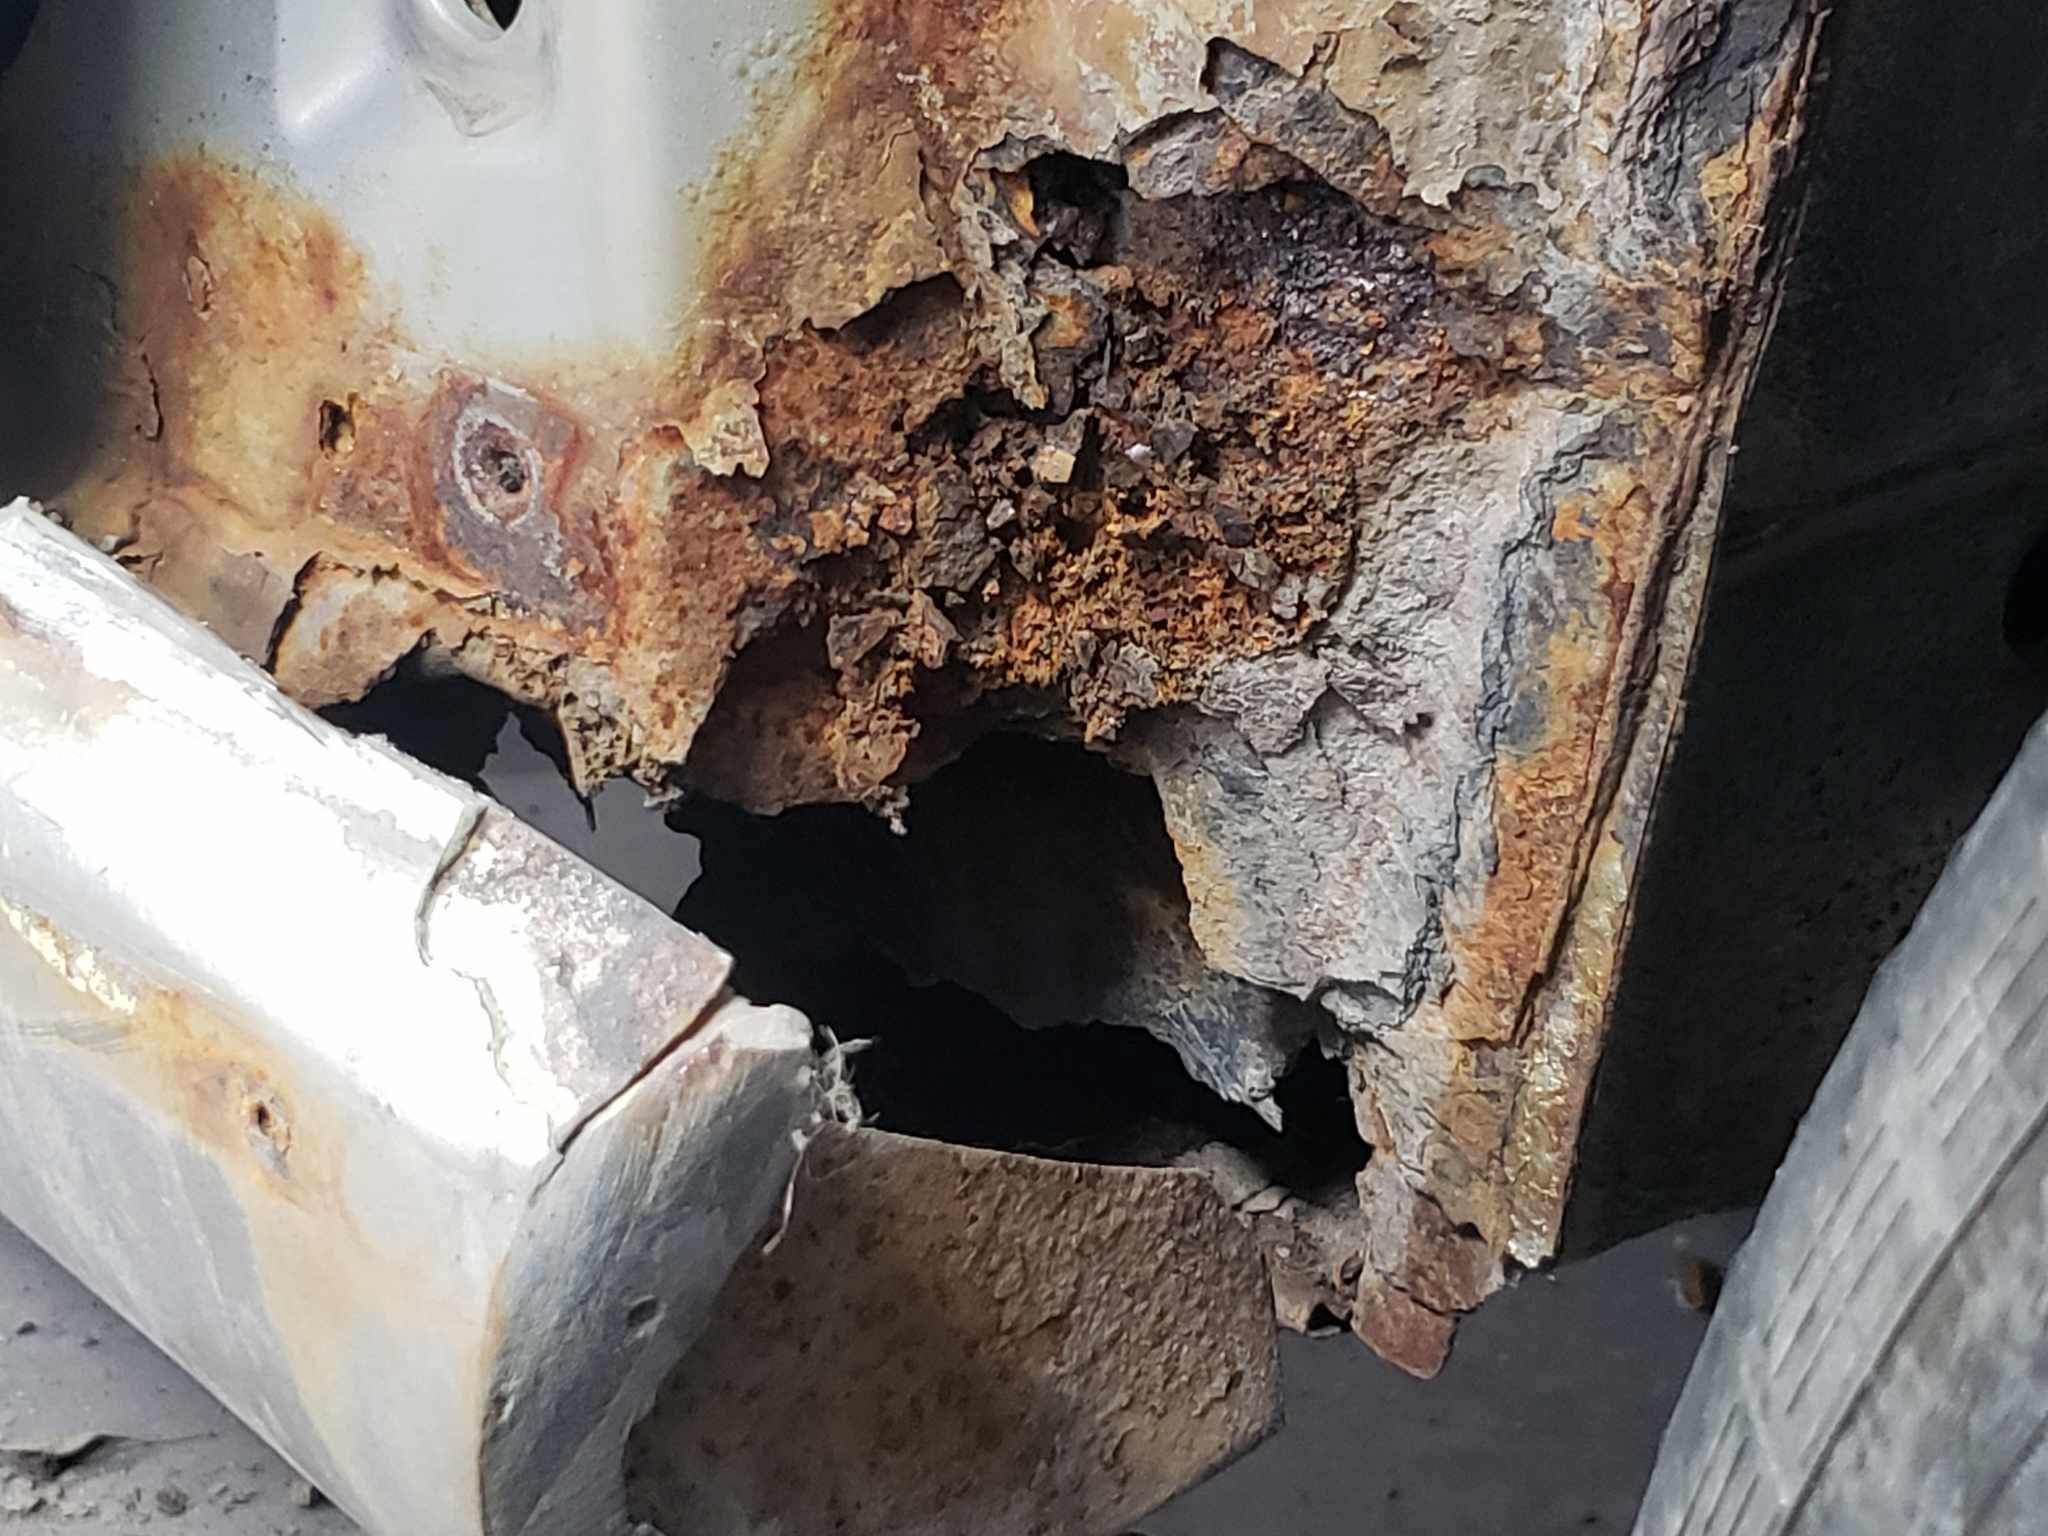
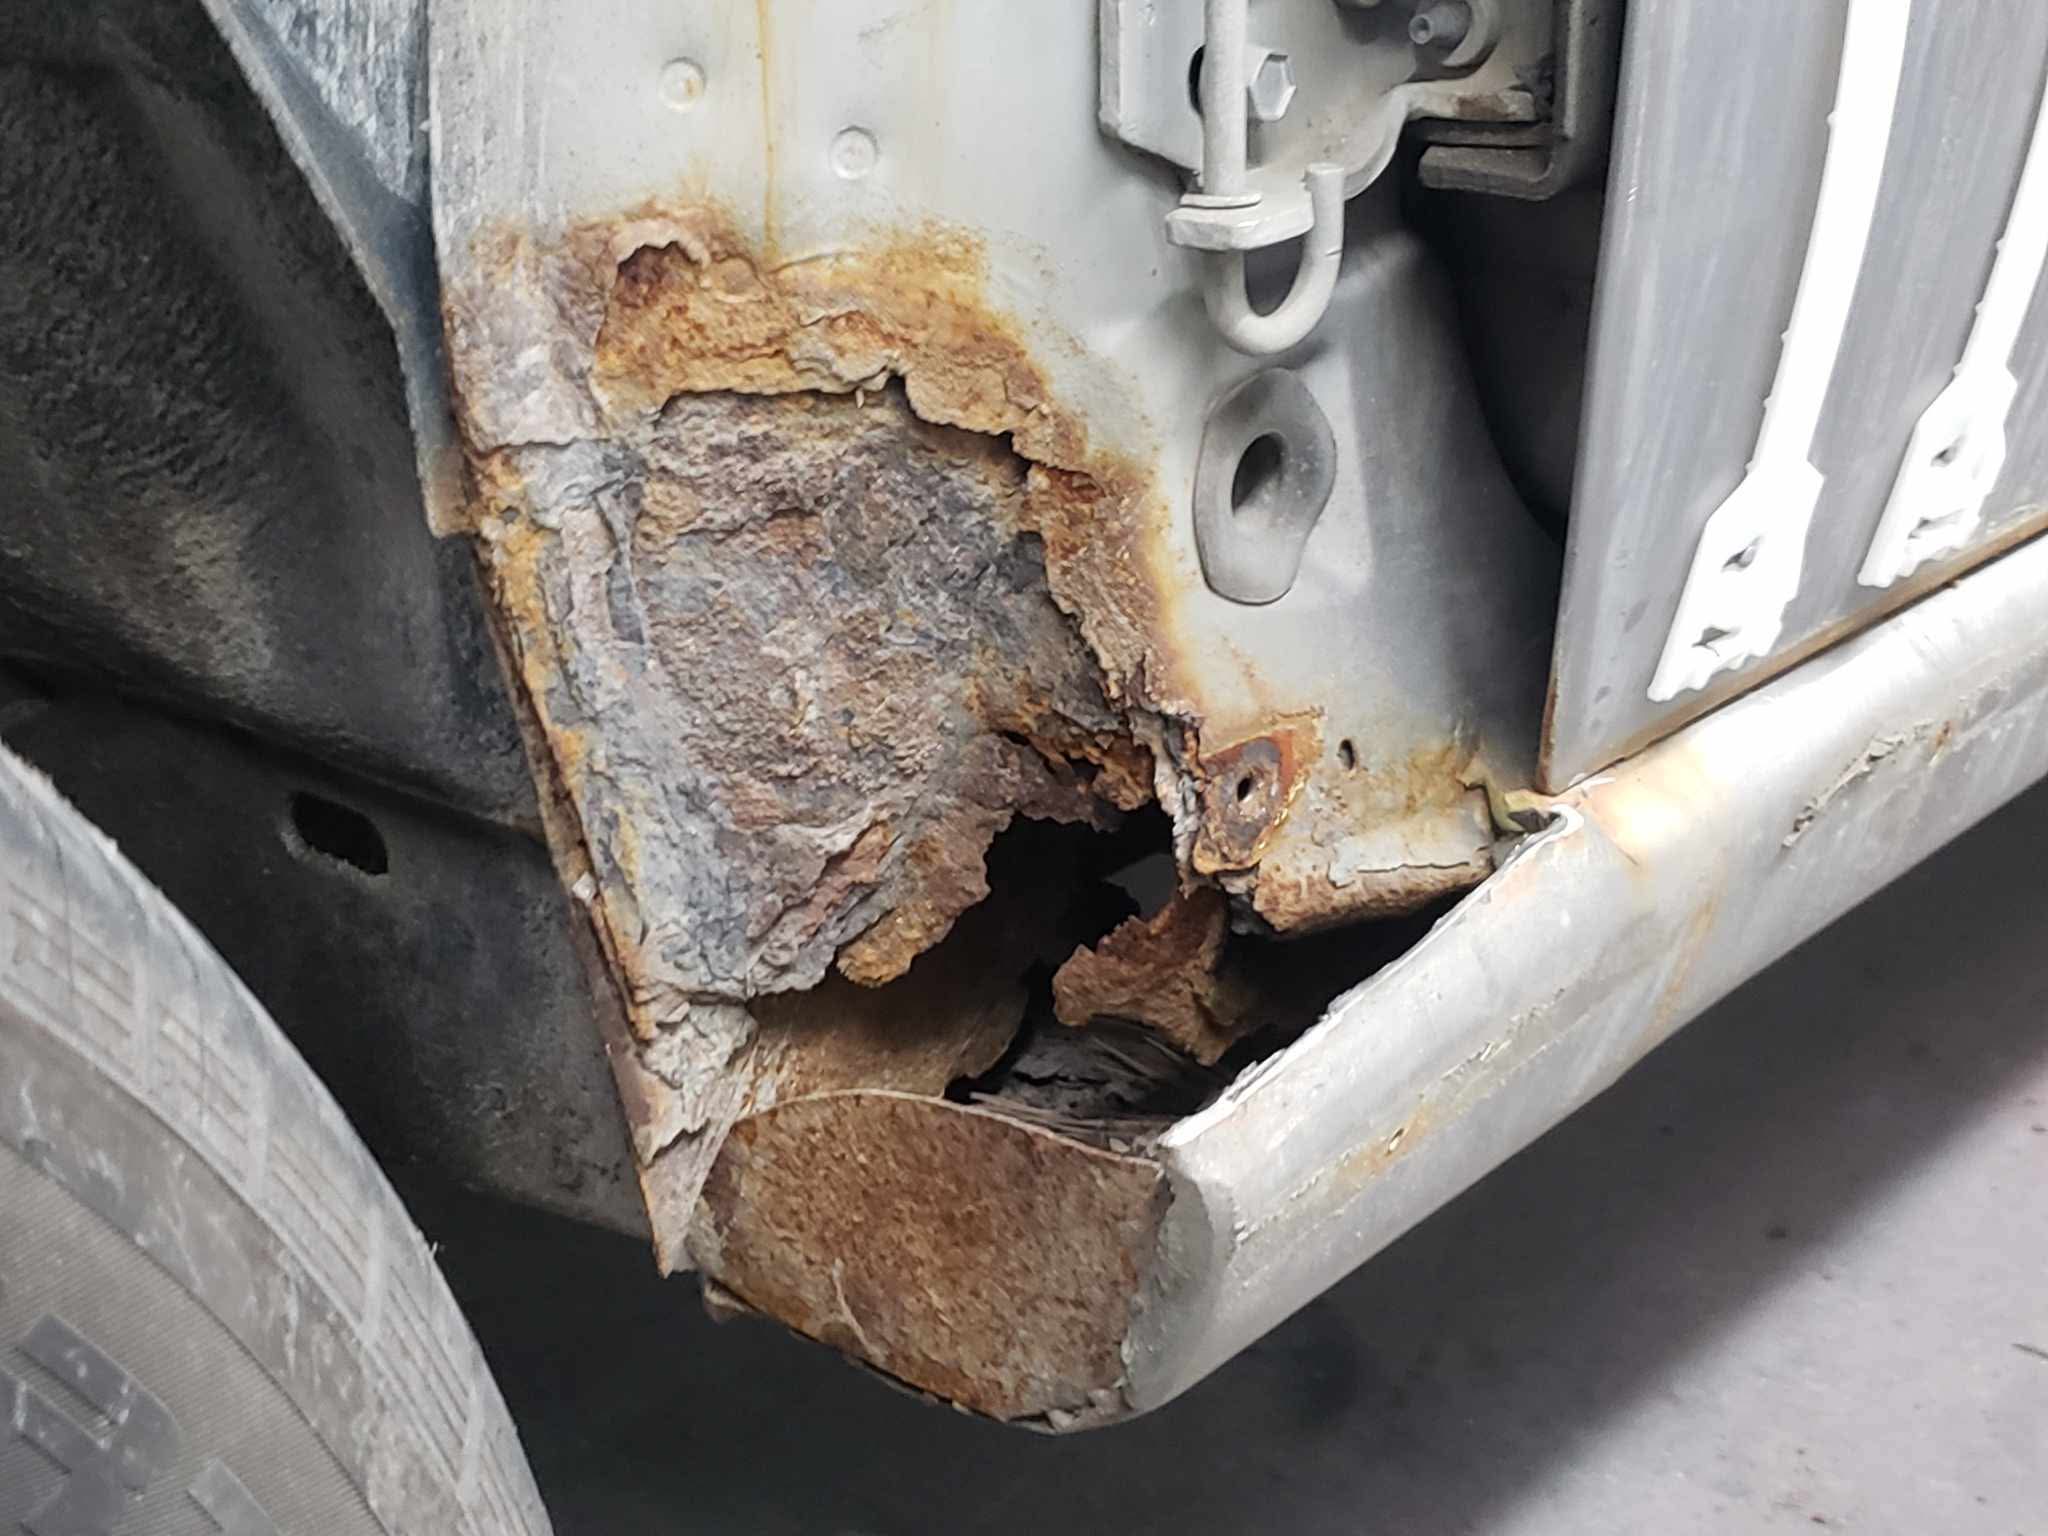
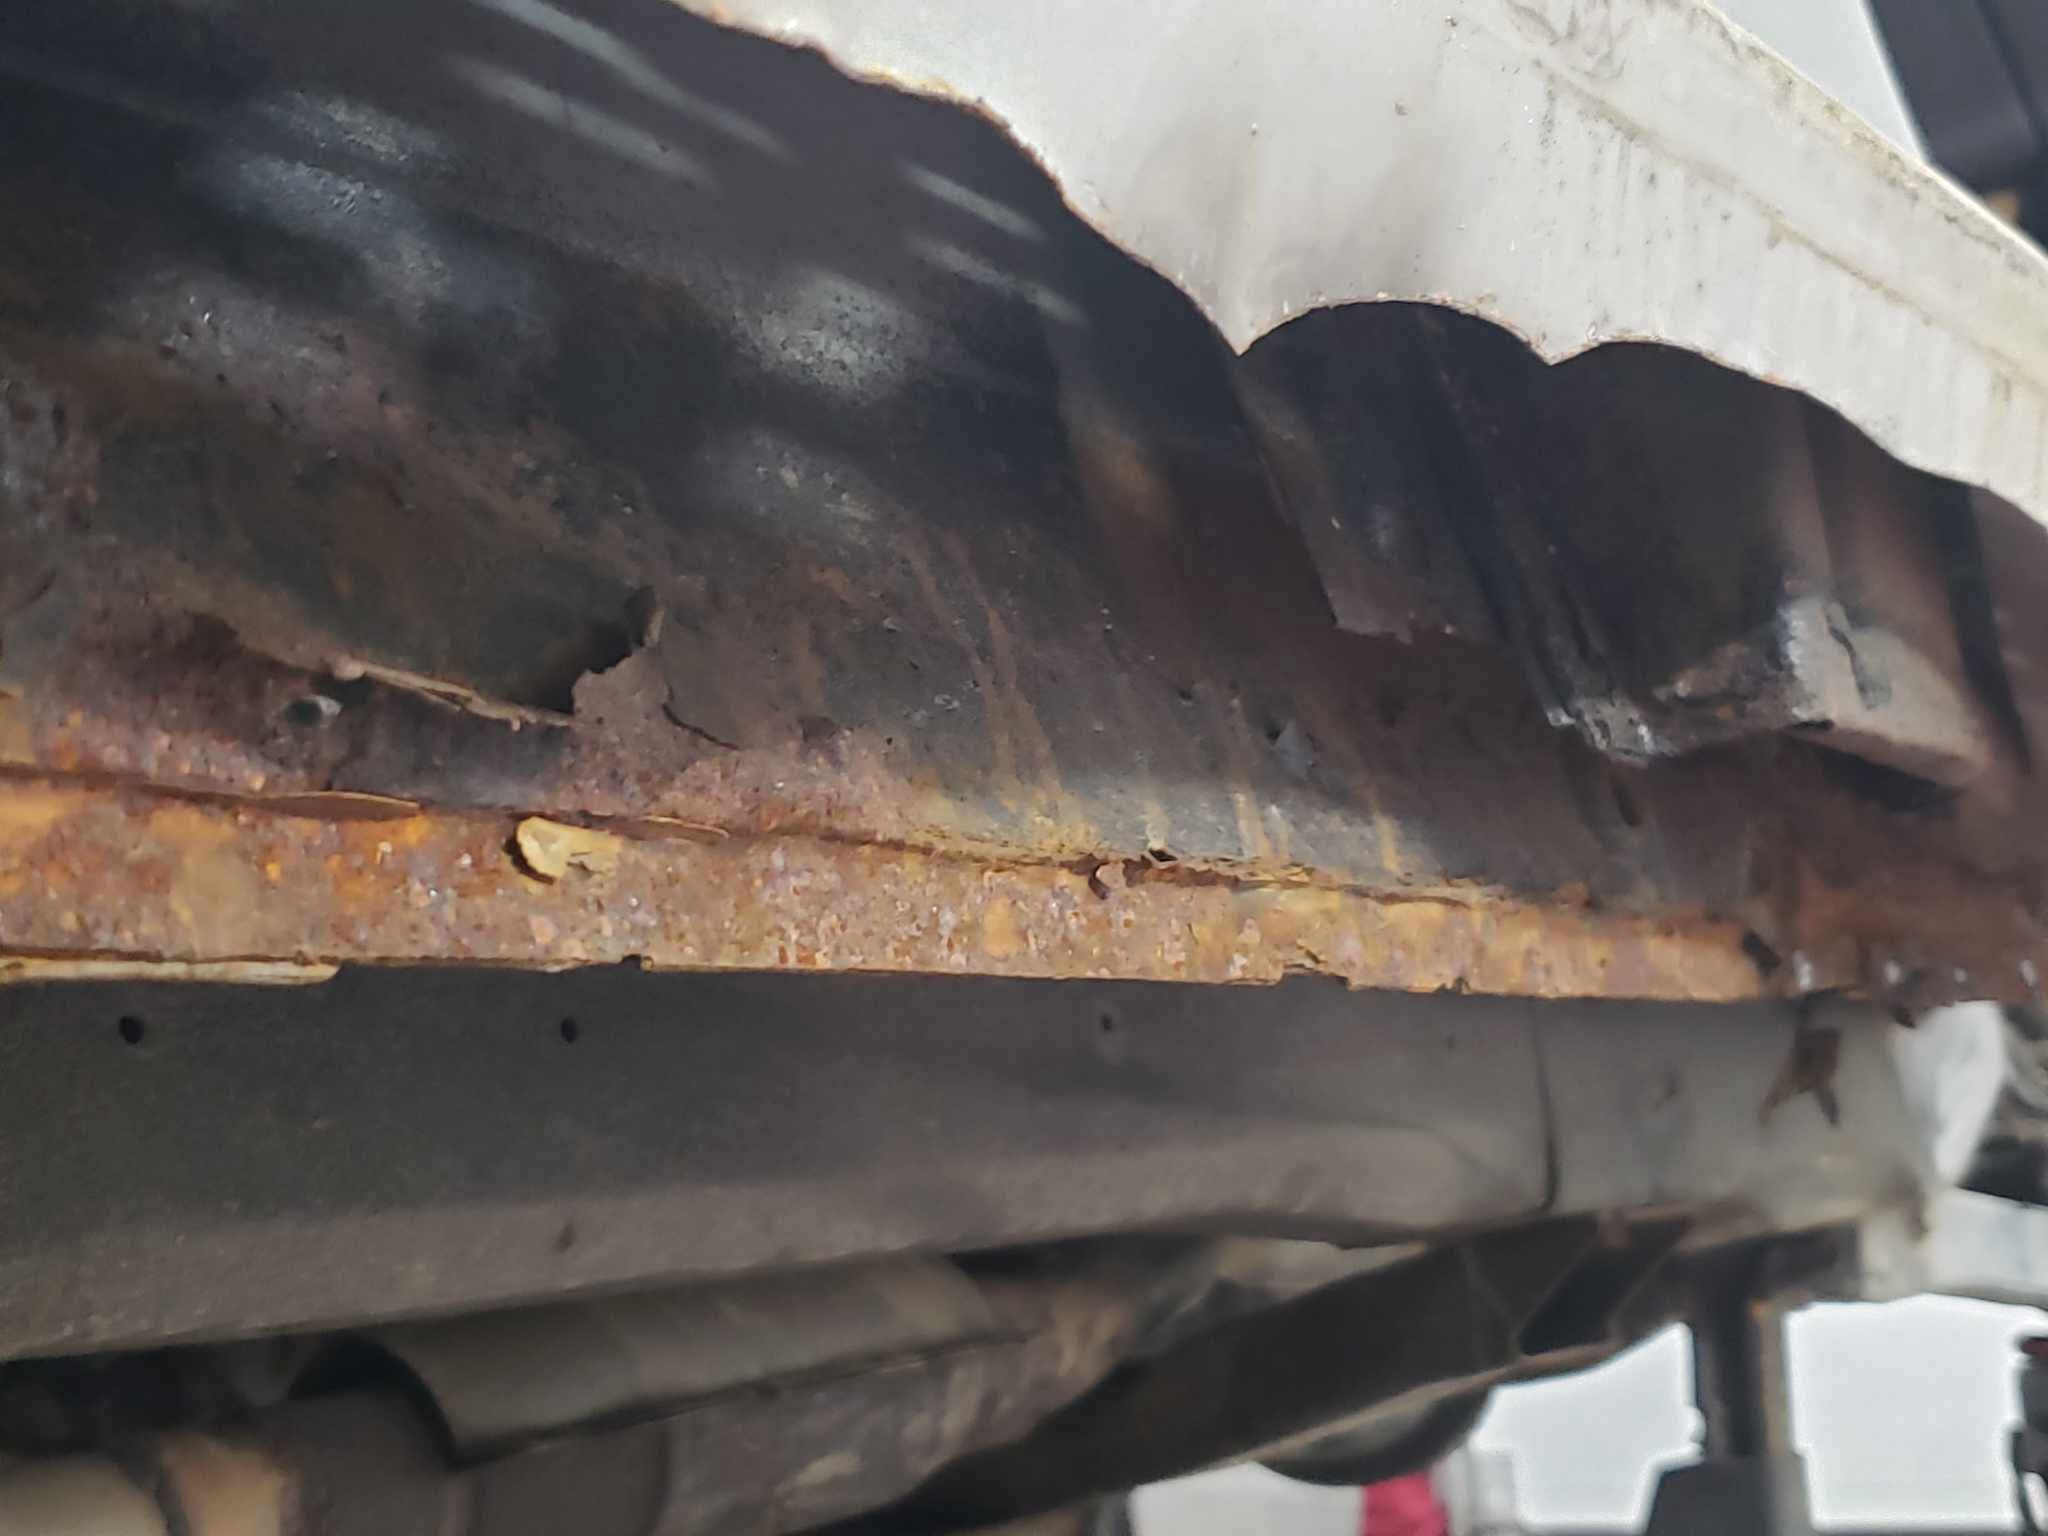
The pre-purchase inspection had already flagged the body rust — rockers, door bottoms, rear corners. What it couldn’t fully convey was the scale of it once the cladding came off under shop lights.
What We Found
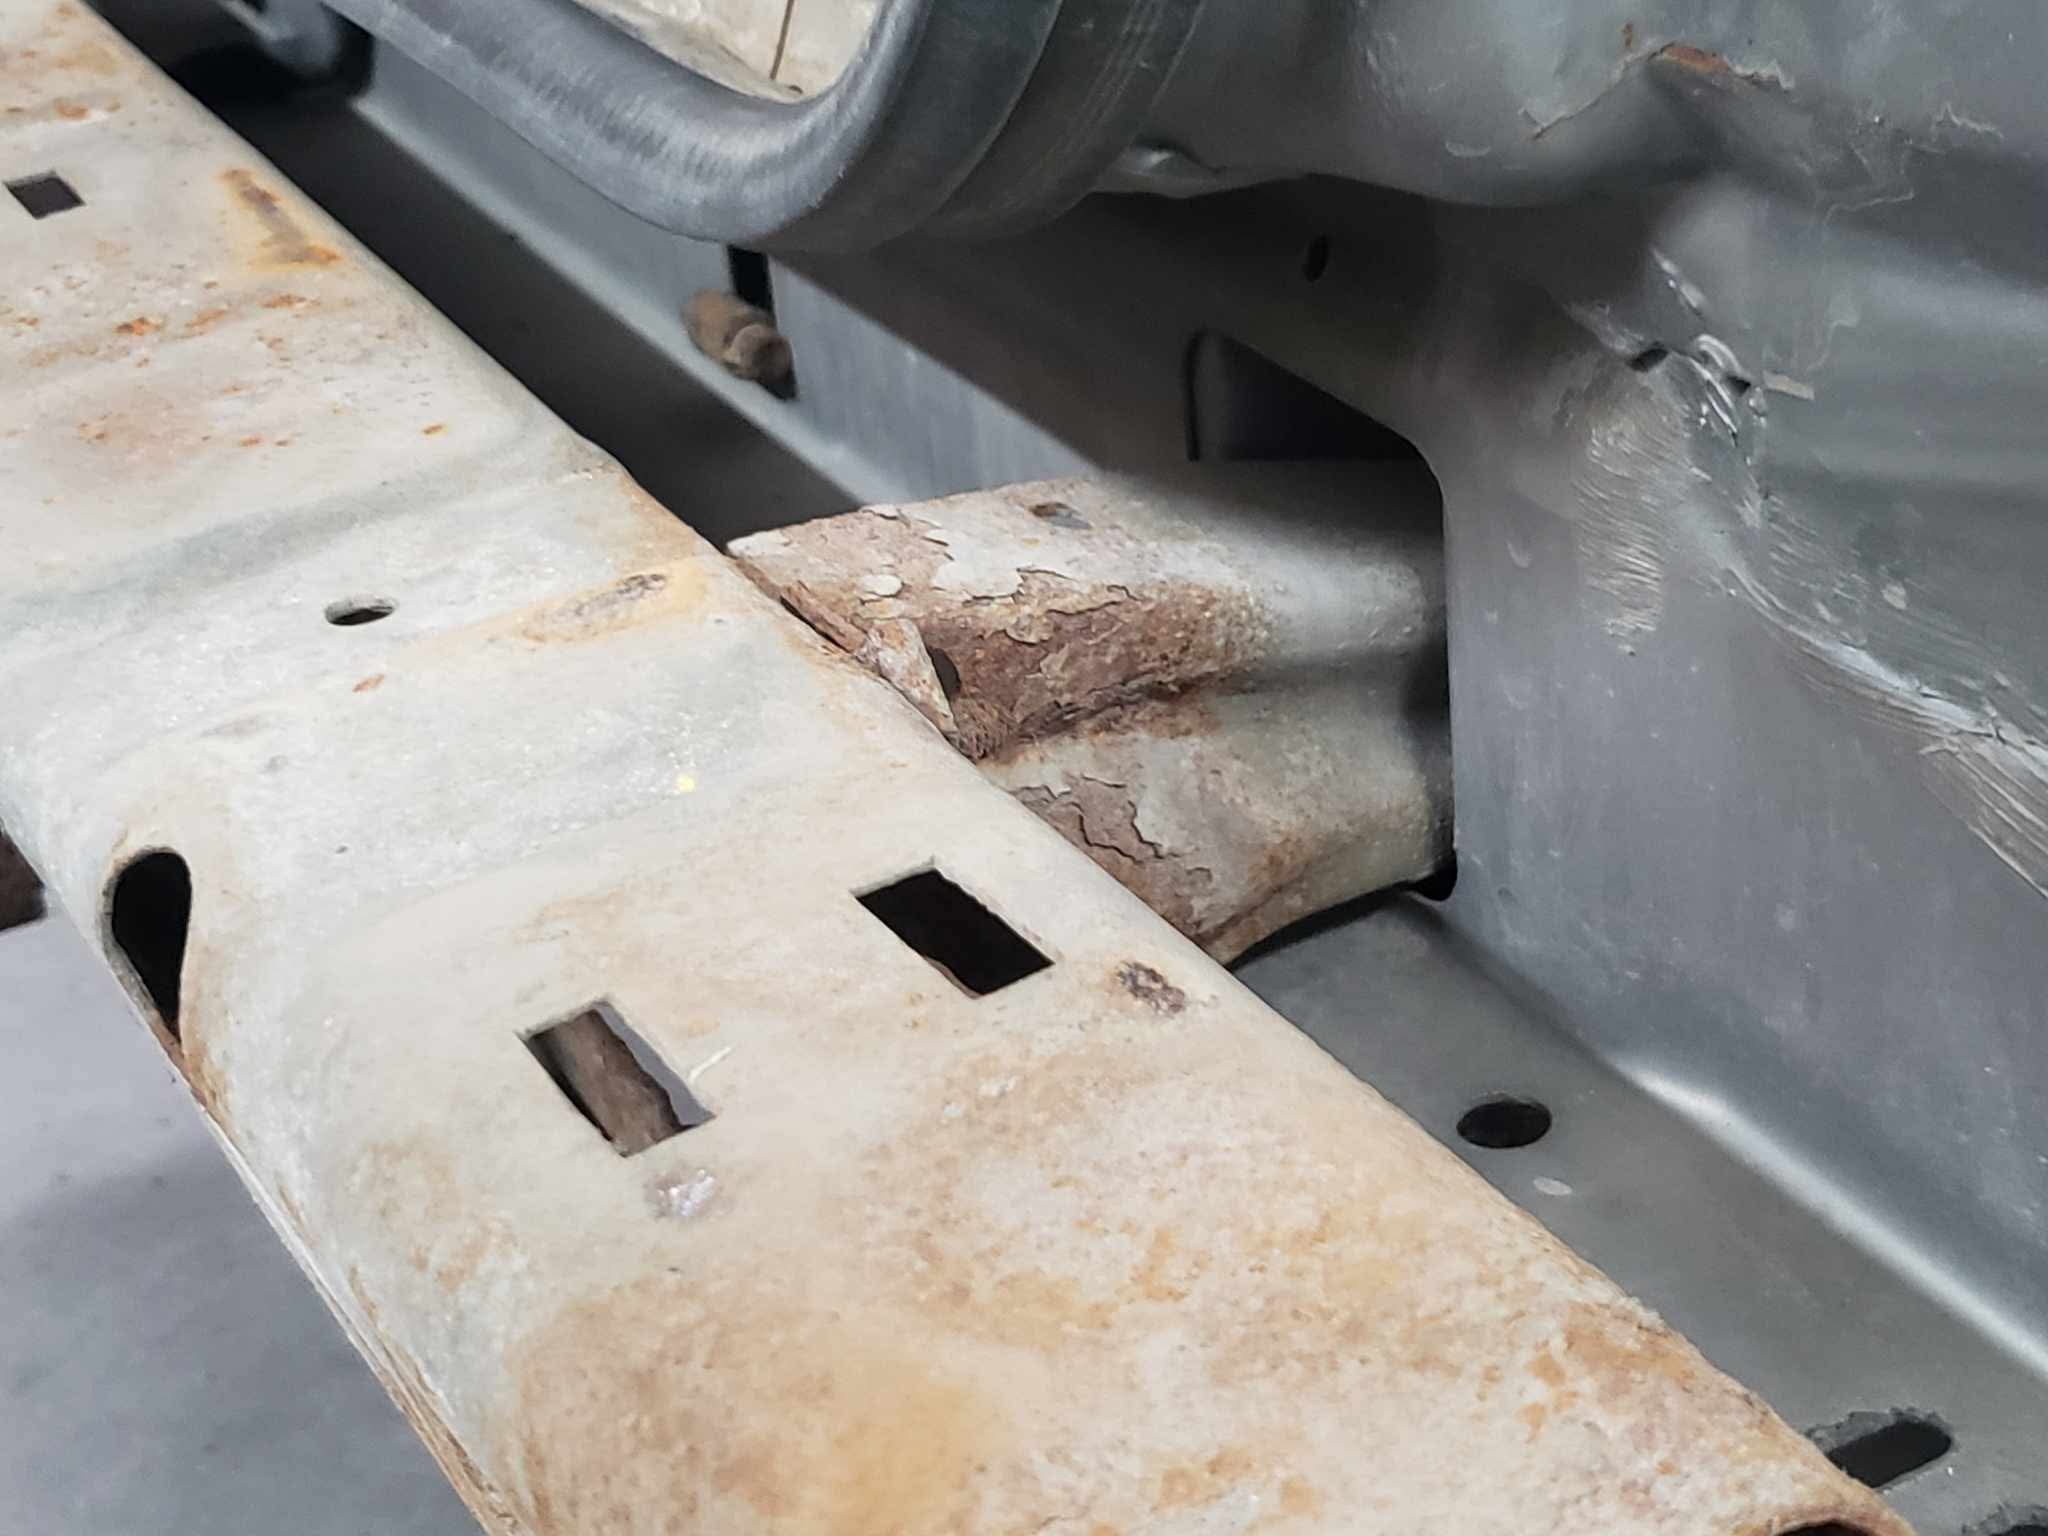
Once it went up in the air and the body cladding came off, the scope of what needed to be done became clear fast. The rockers were gone — not surface rust, not pitting, but structurally absent in places, with holes you could push a finger through. The rear quarters had eaten themselves from the inside out. The rear corners at the B and C pillars had rust that had worked through multiple layers. The liftgate bottom edge was crumbling. Door bottoms, fender mounting areas, front inner structure — it was everywhere on the body.
The frame itself? Solid. That part of the listing held up. But the body hanging off it was another matter entirely.
The Teardown
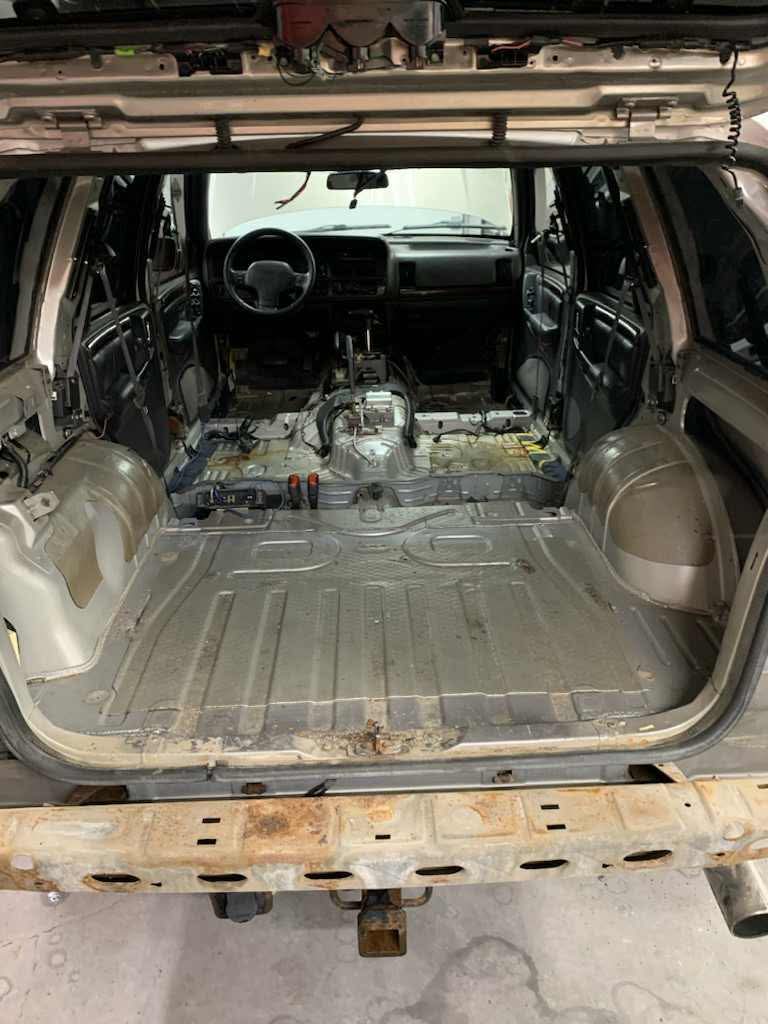
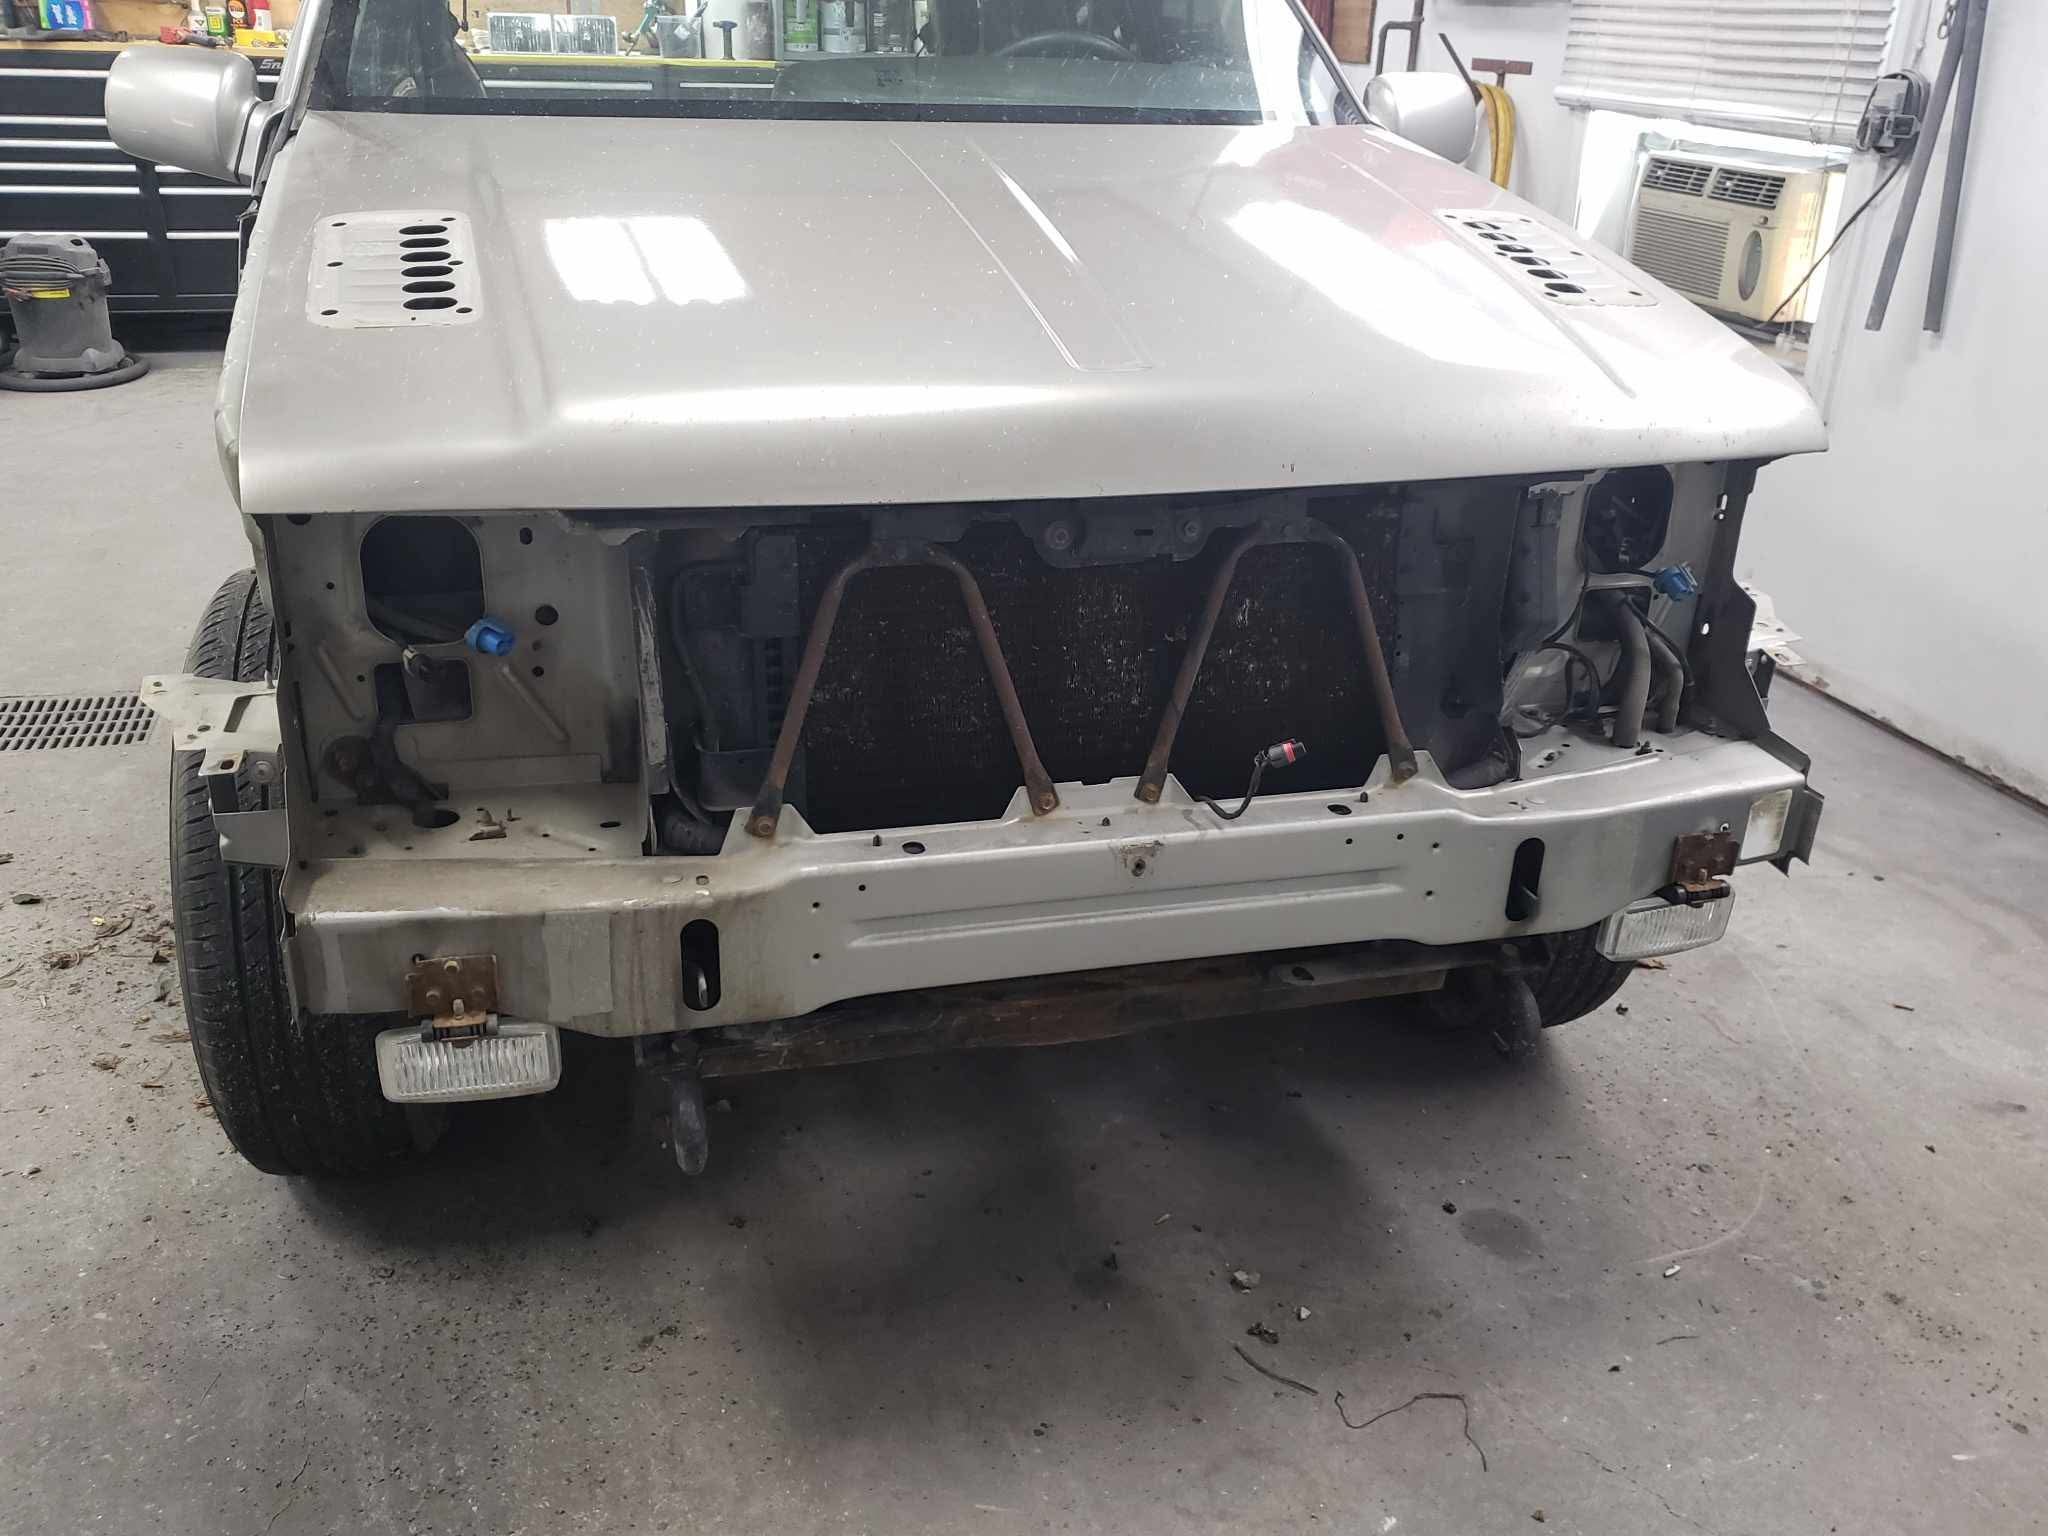
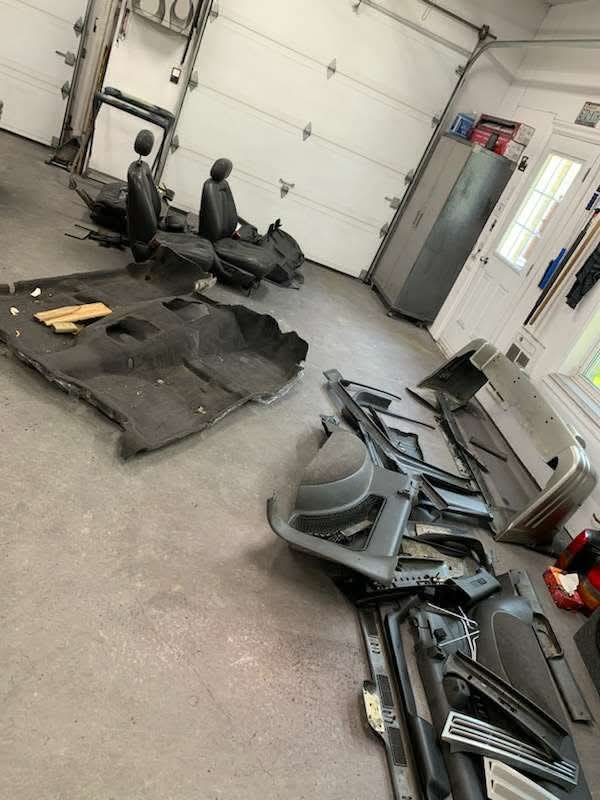
To do the metalwork properly, the interior had to come out completely — carpet, seats, all the trim panels. The front end came apart too: fenders off, grille and headlights out, down to bare shell. It’s a strange thing to see a vehicle you just bought reduced to a rolling empty tub, but it’s the only way to get at everything properly.
The Work
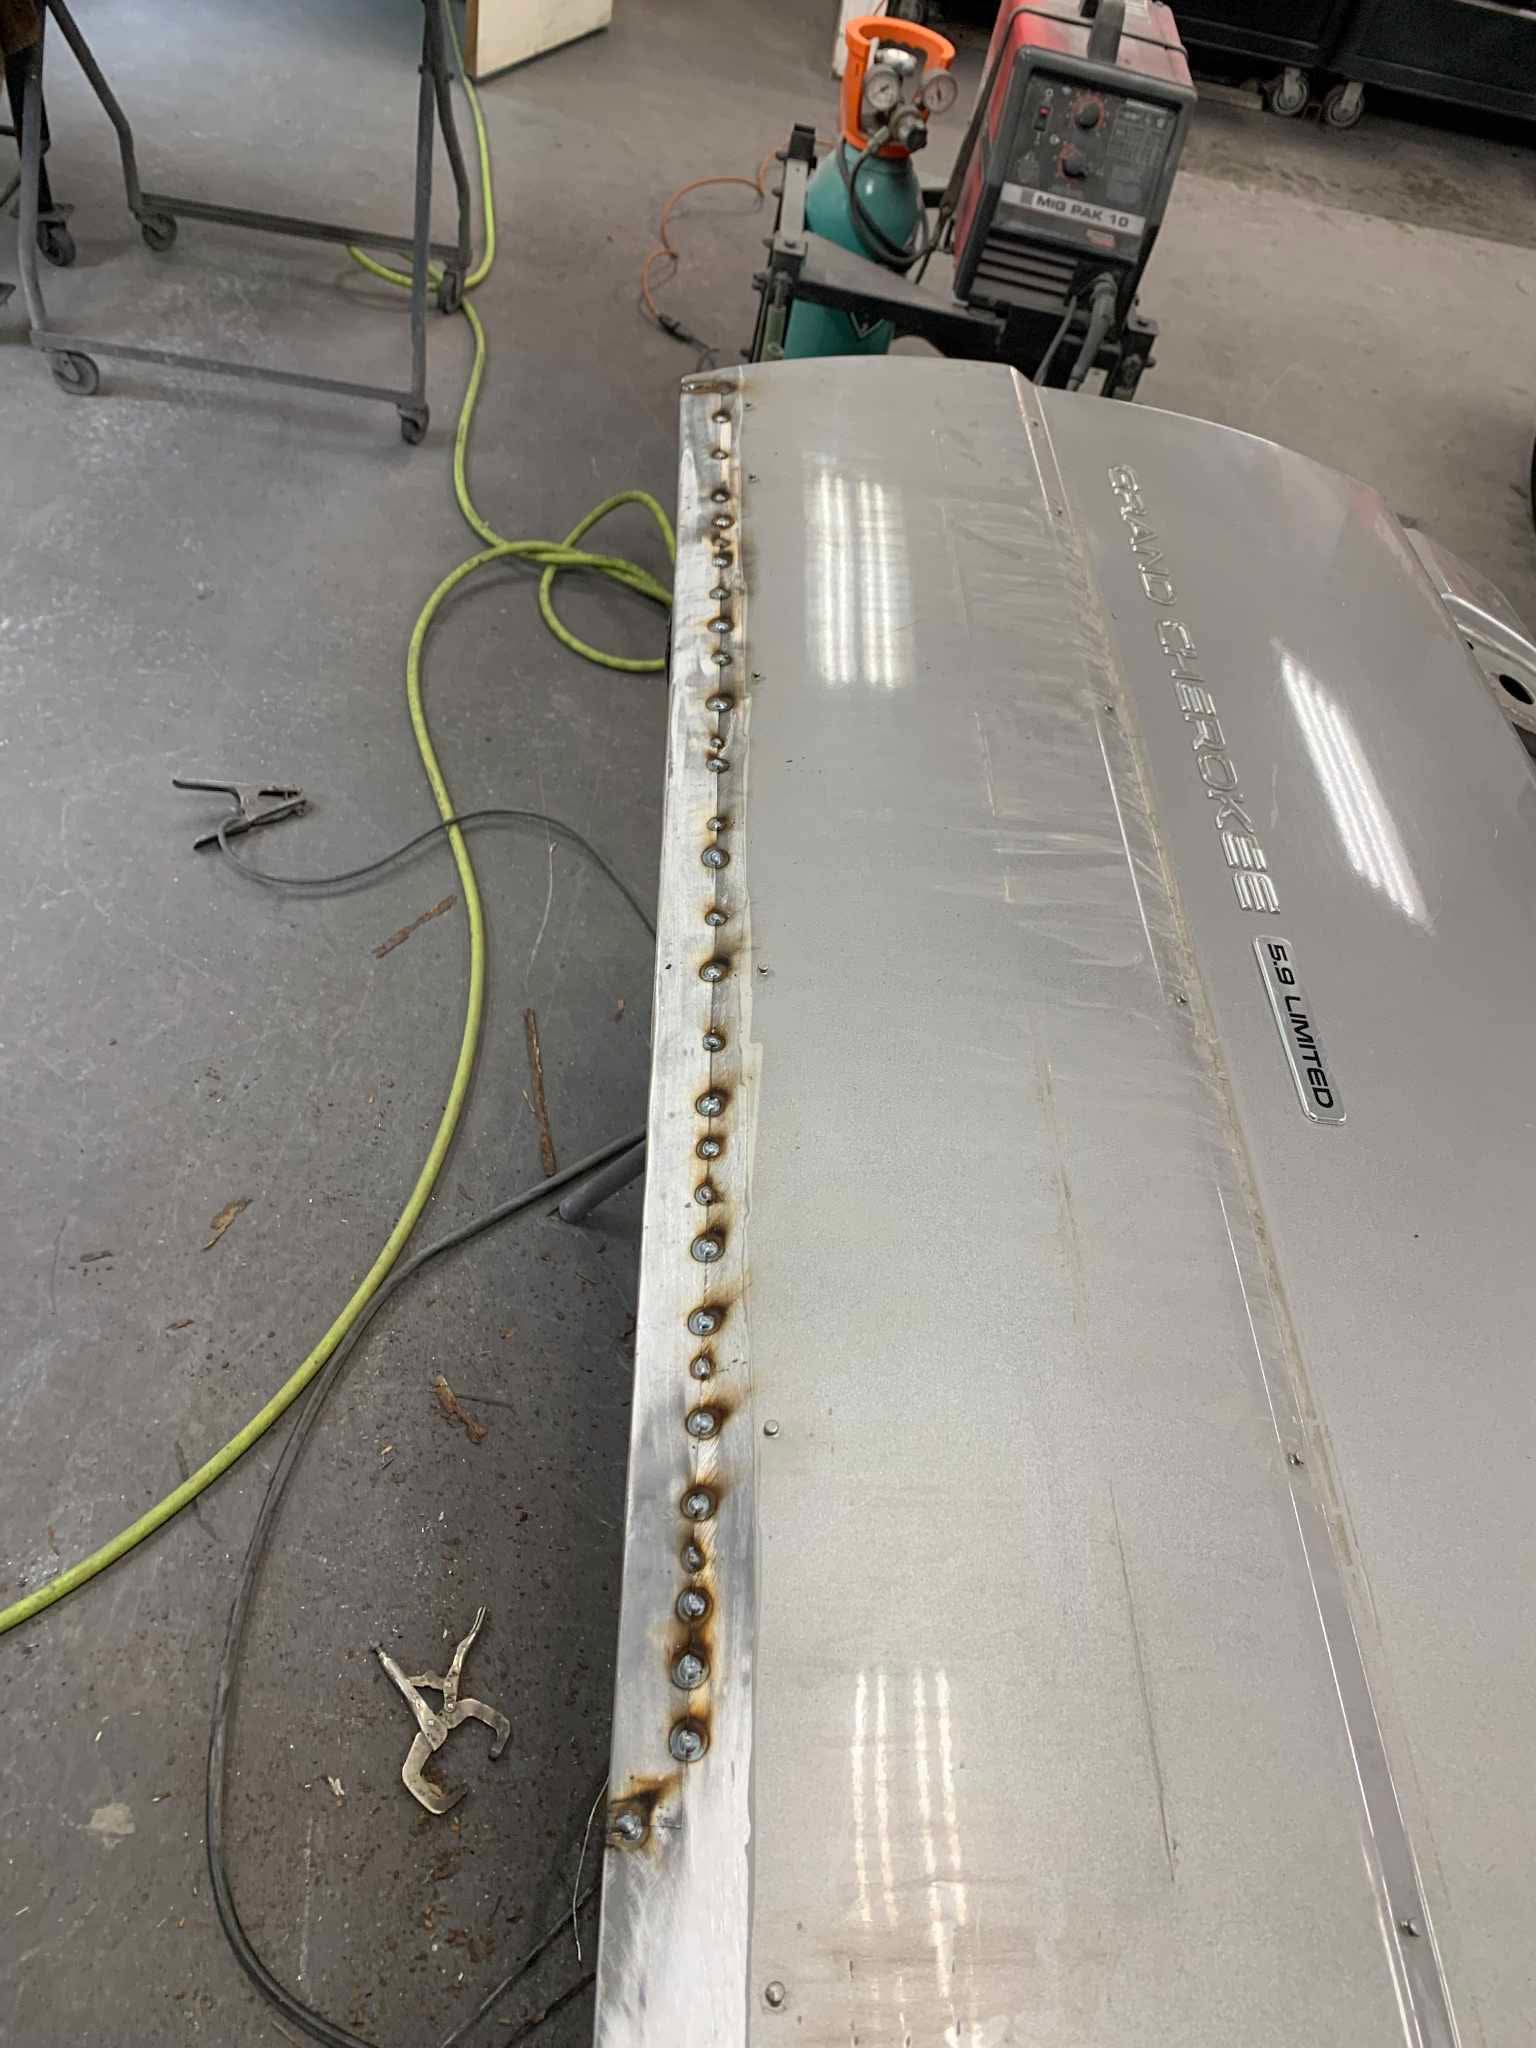
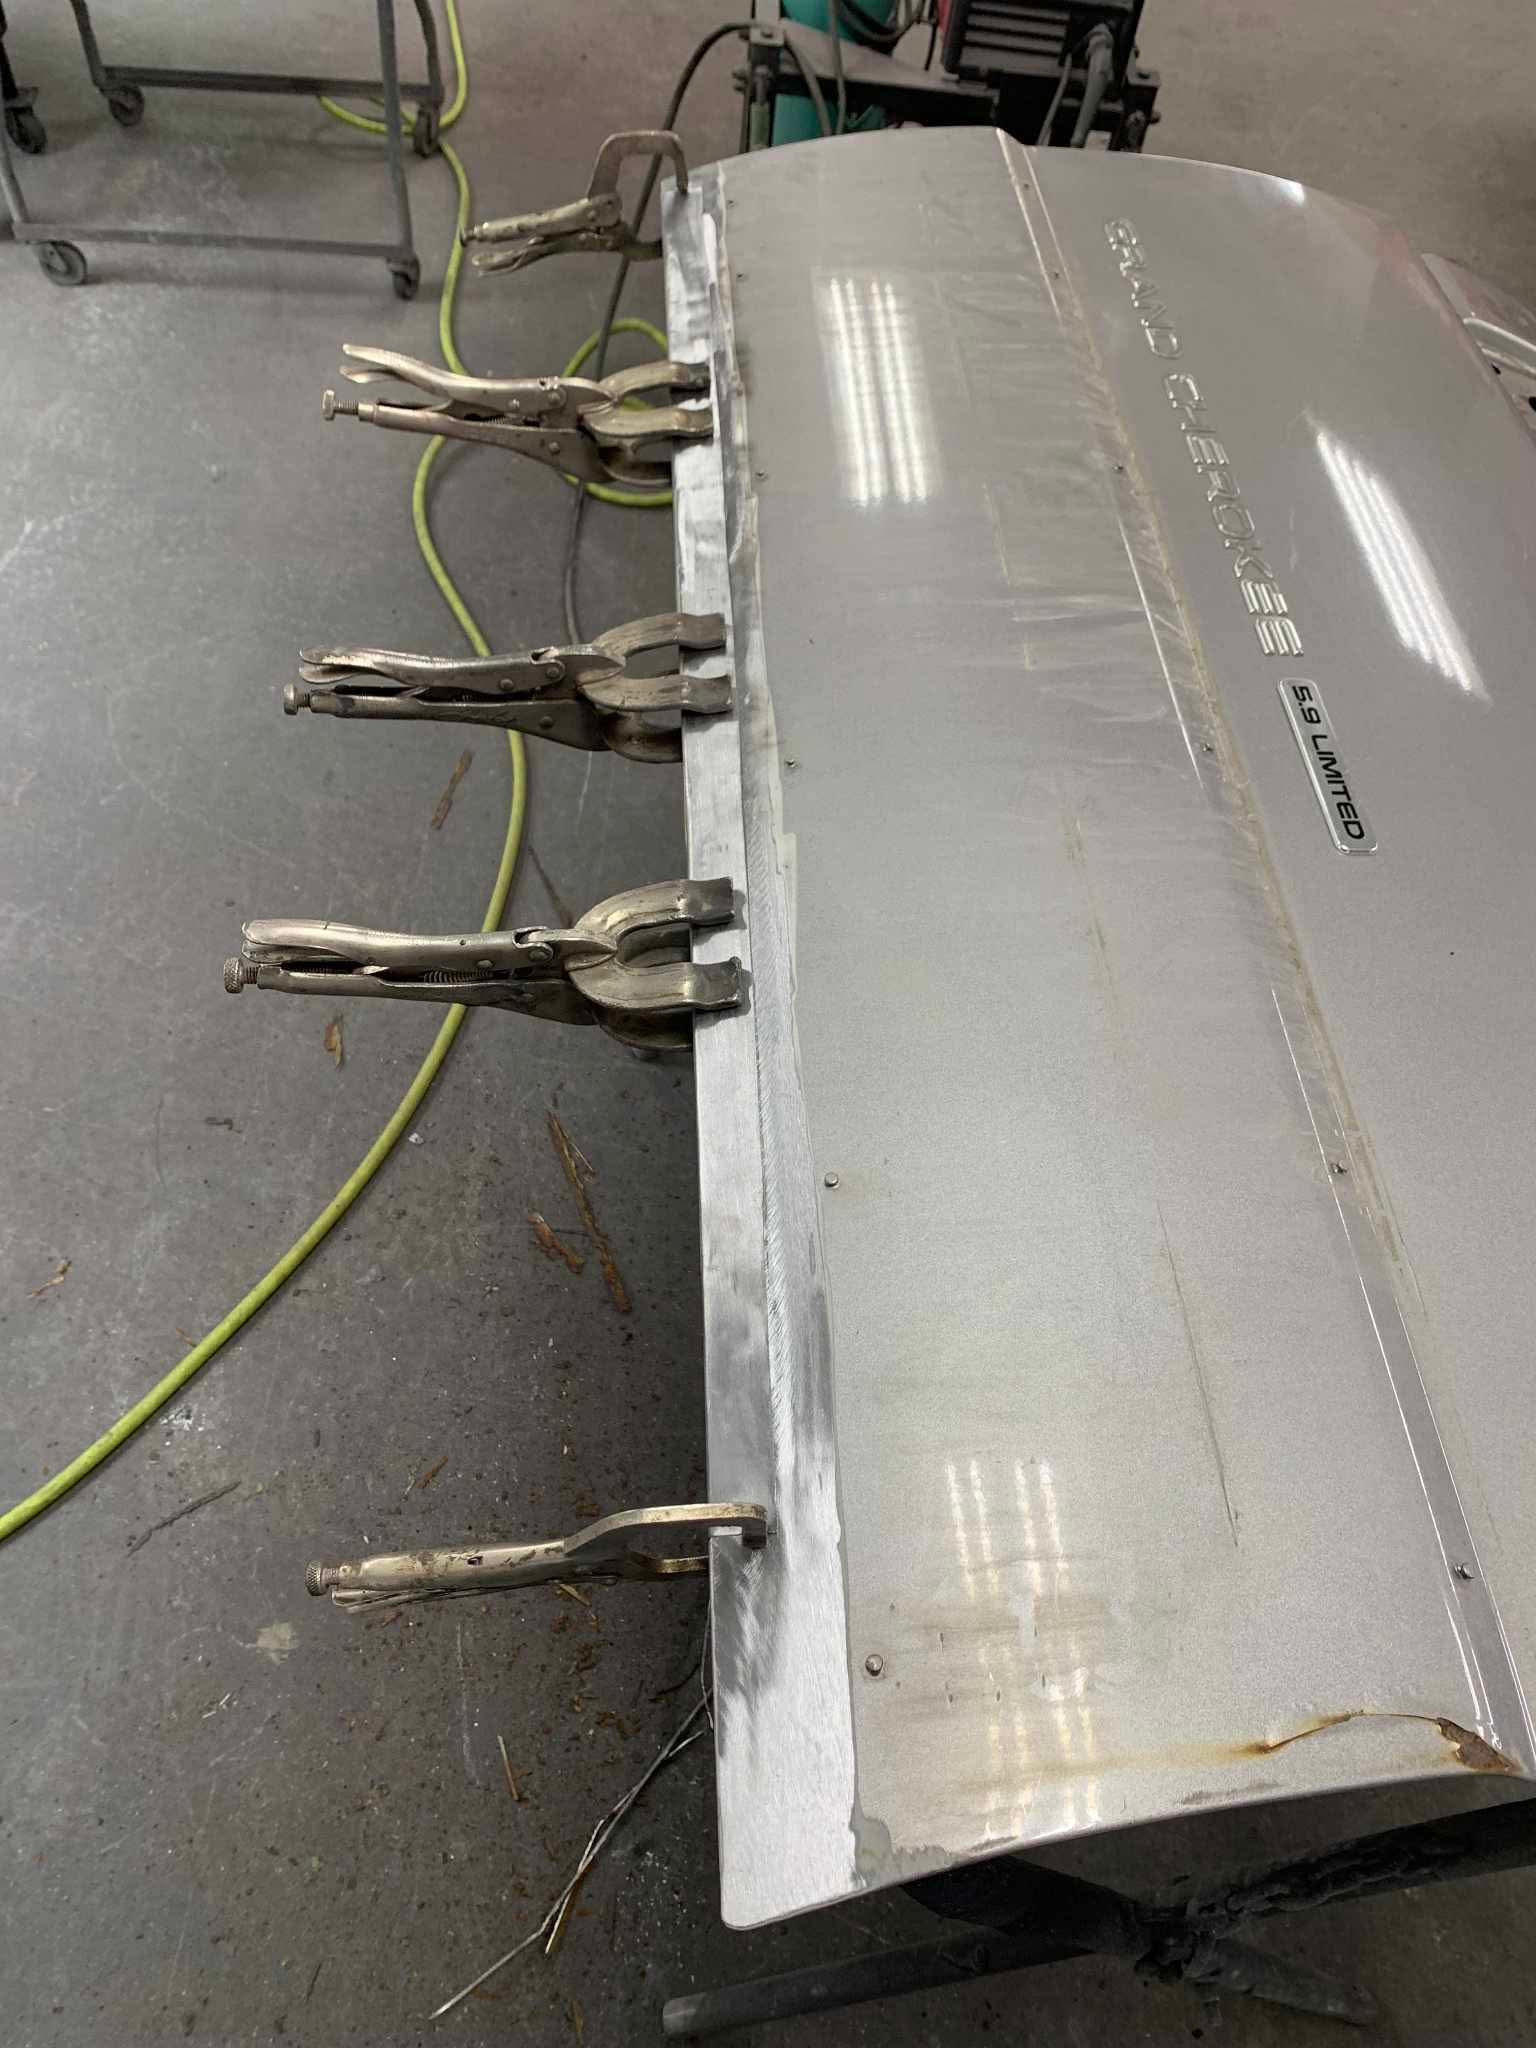
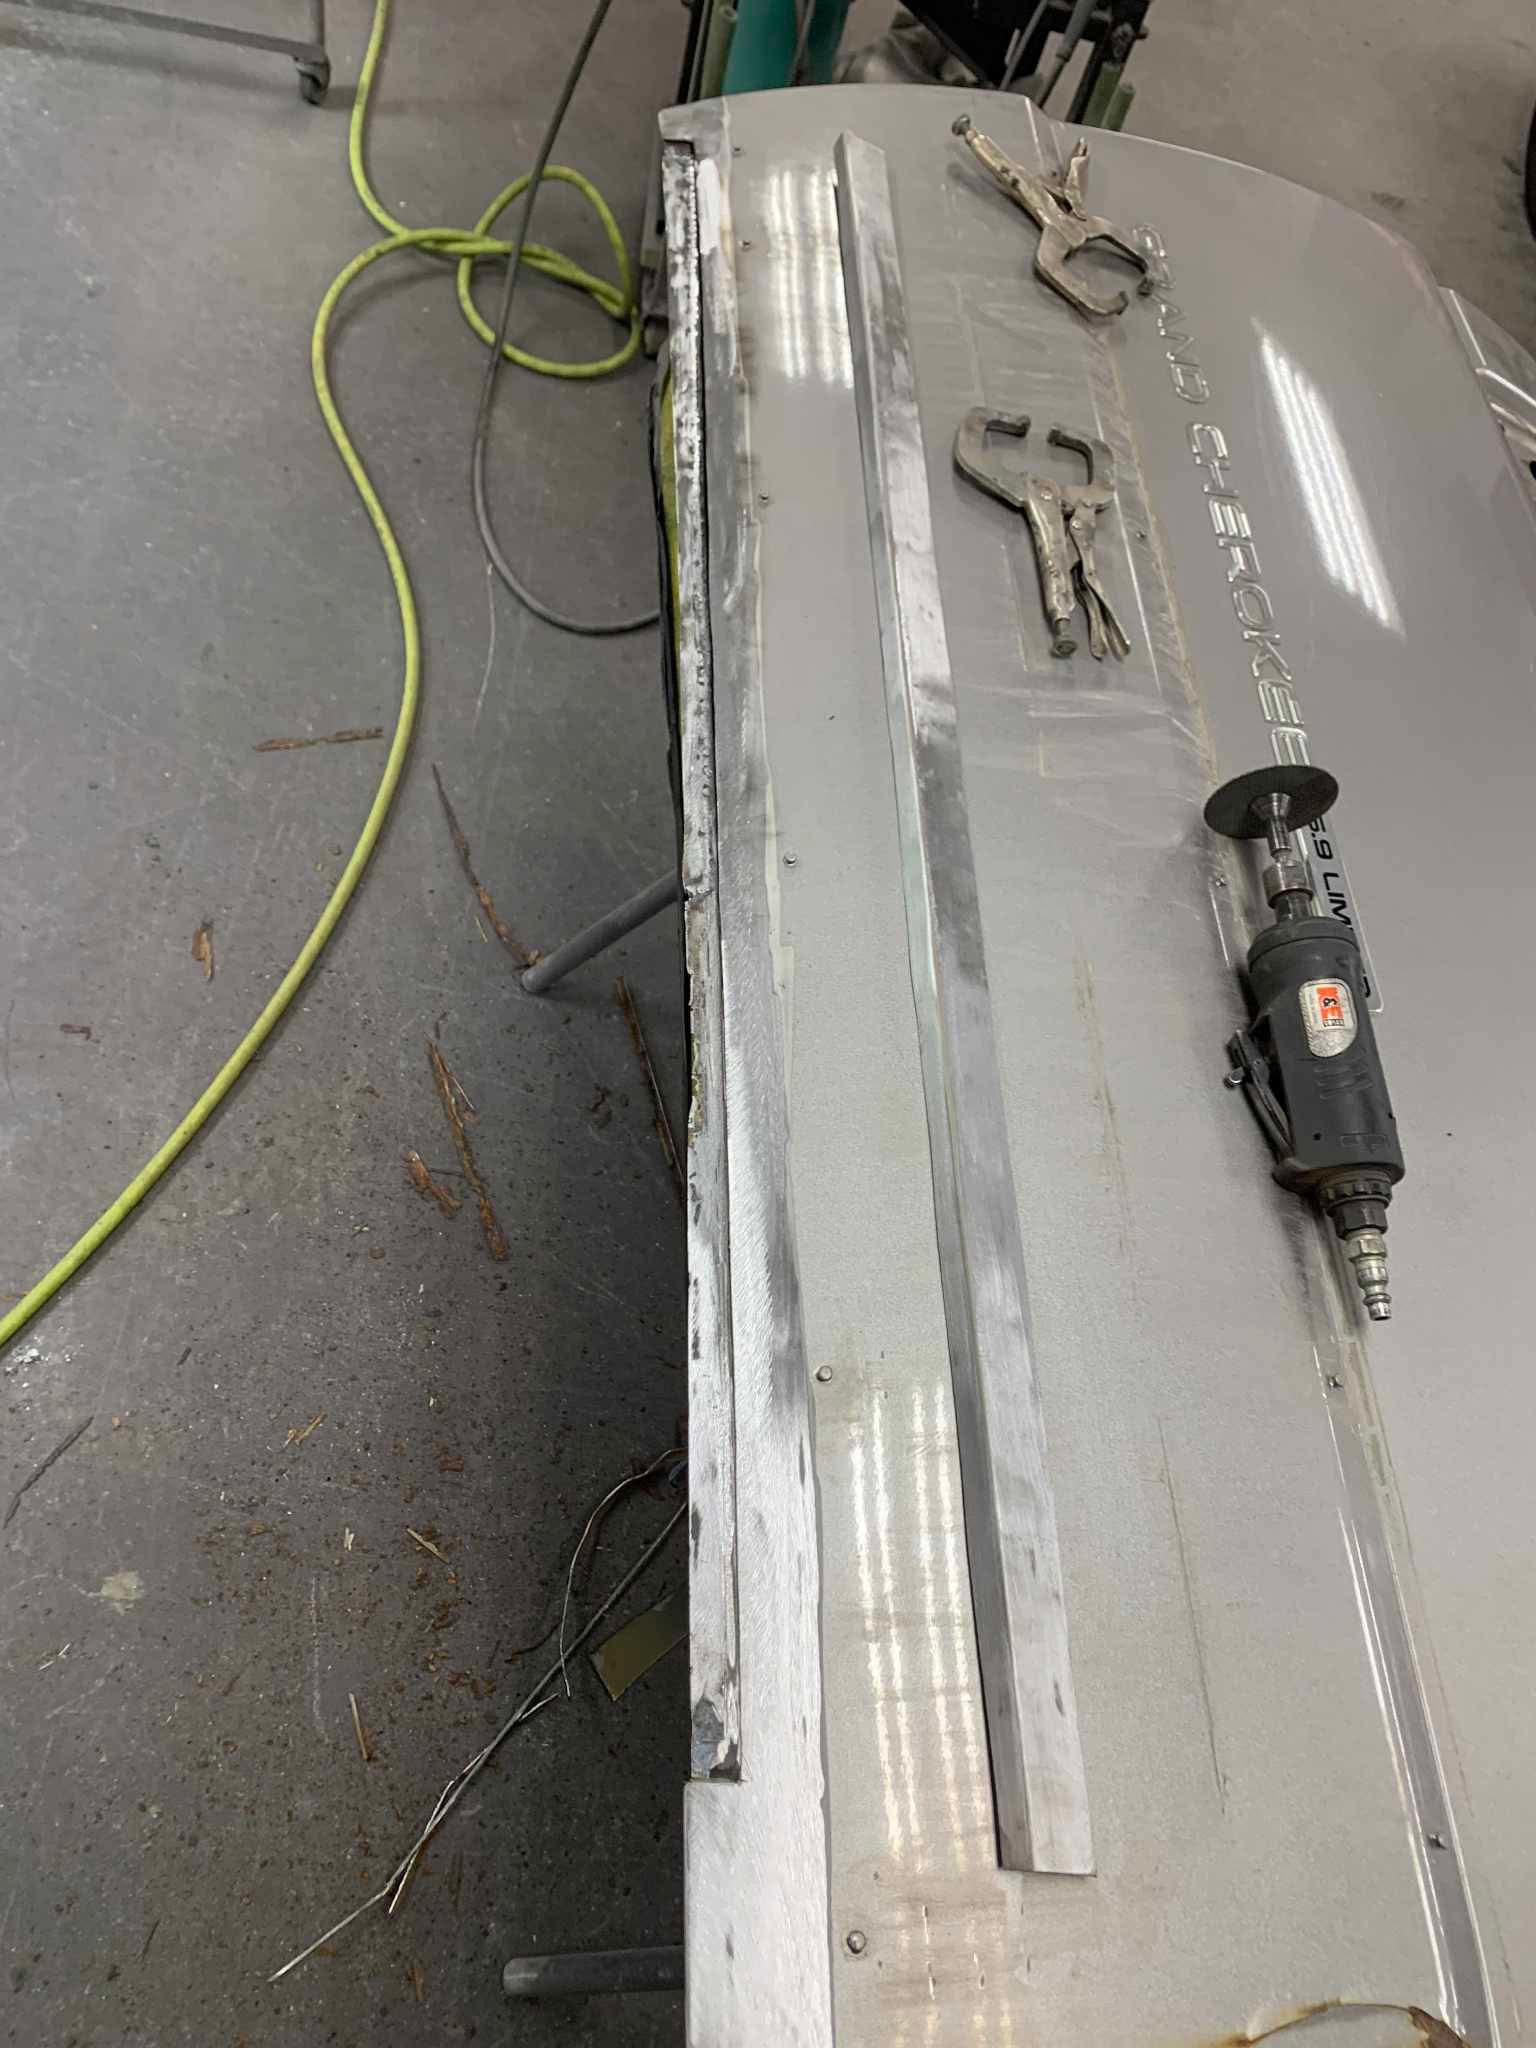
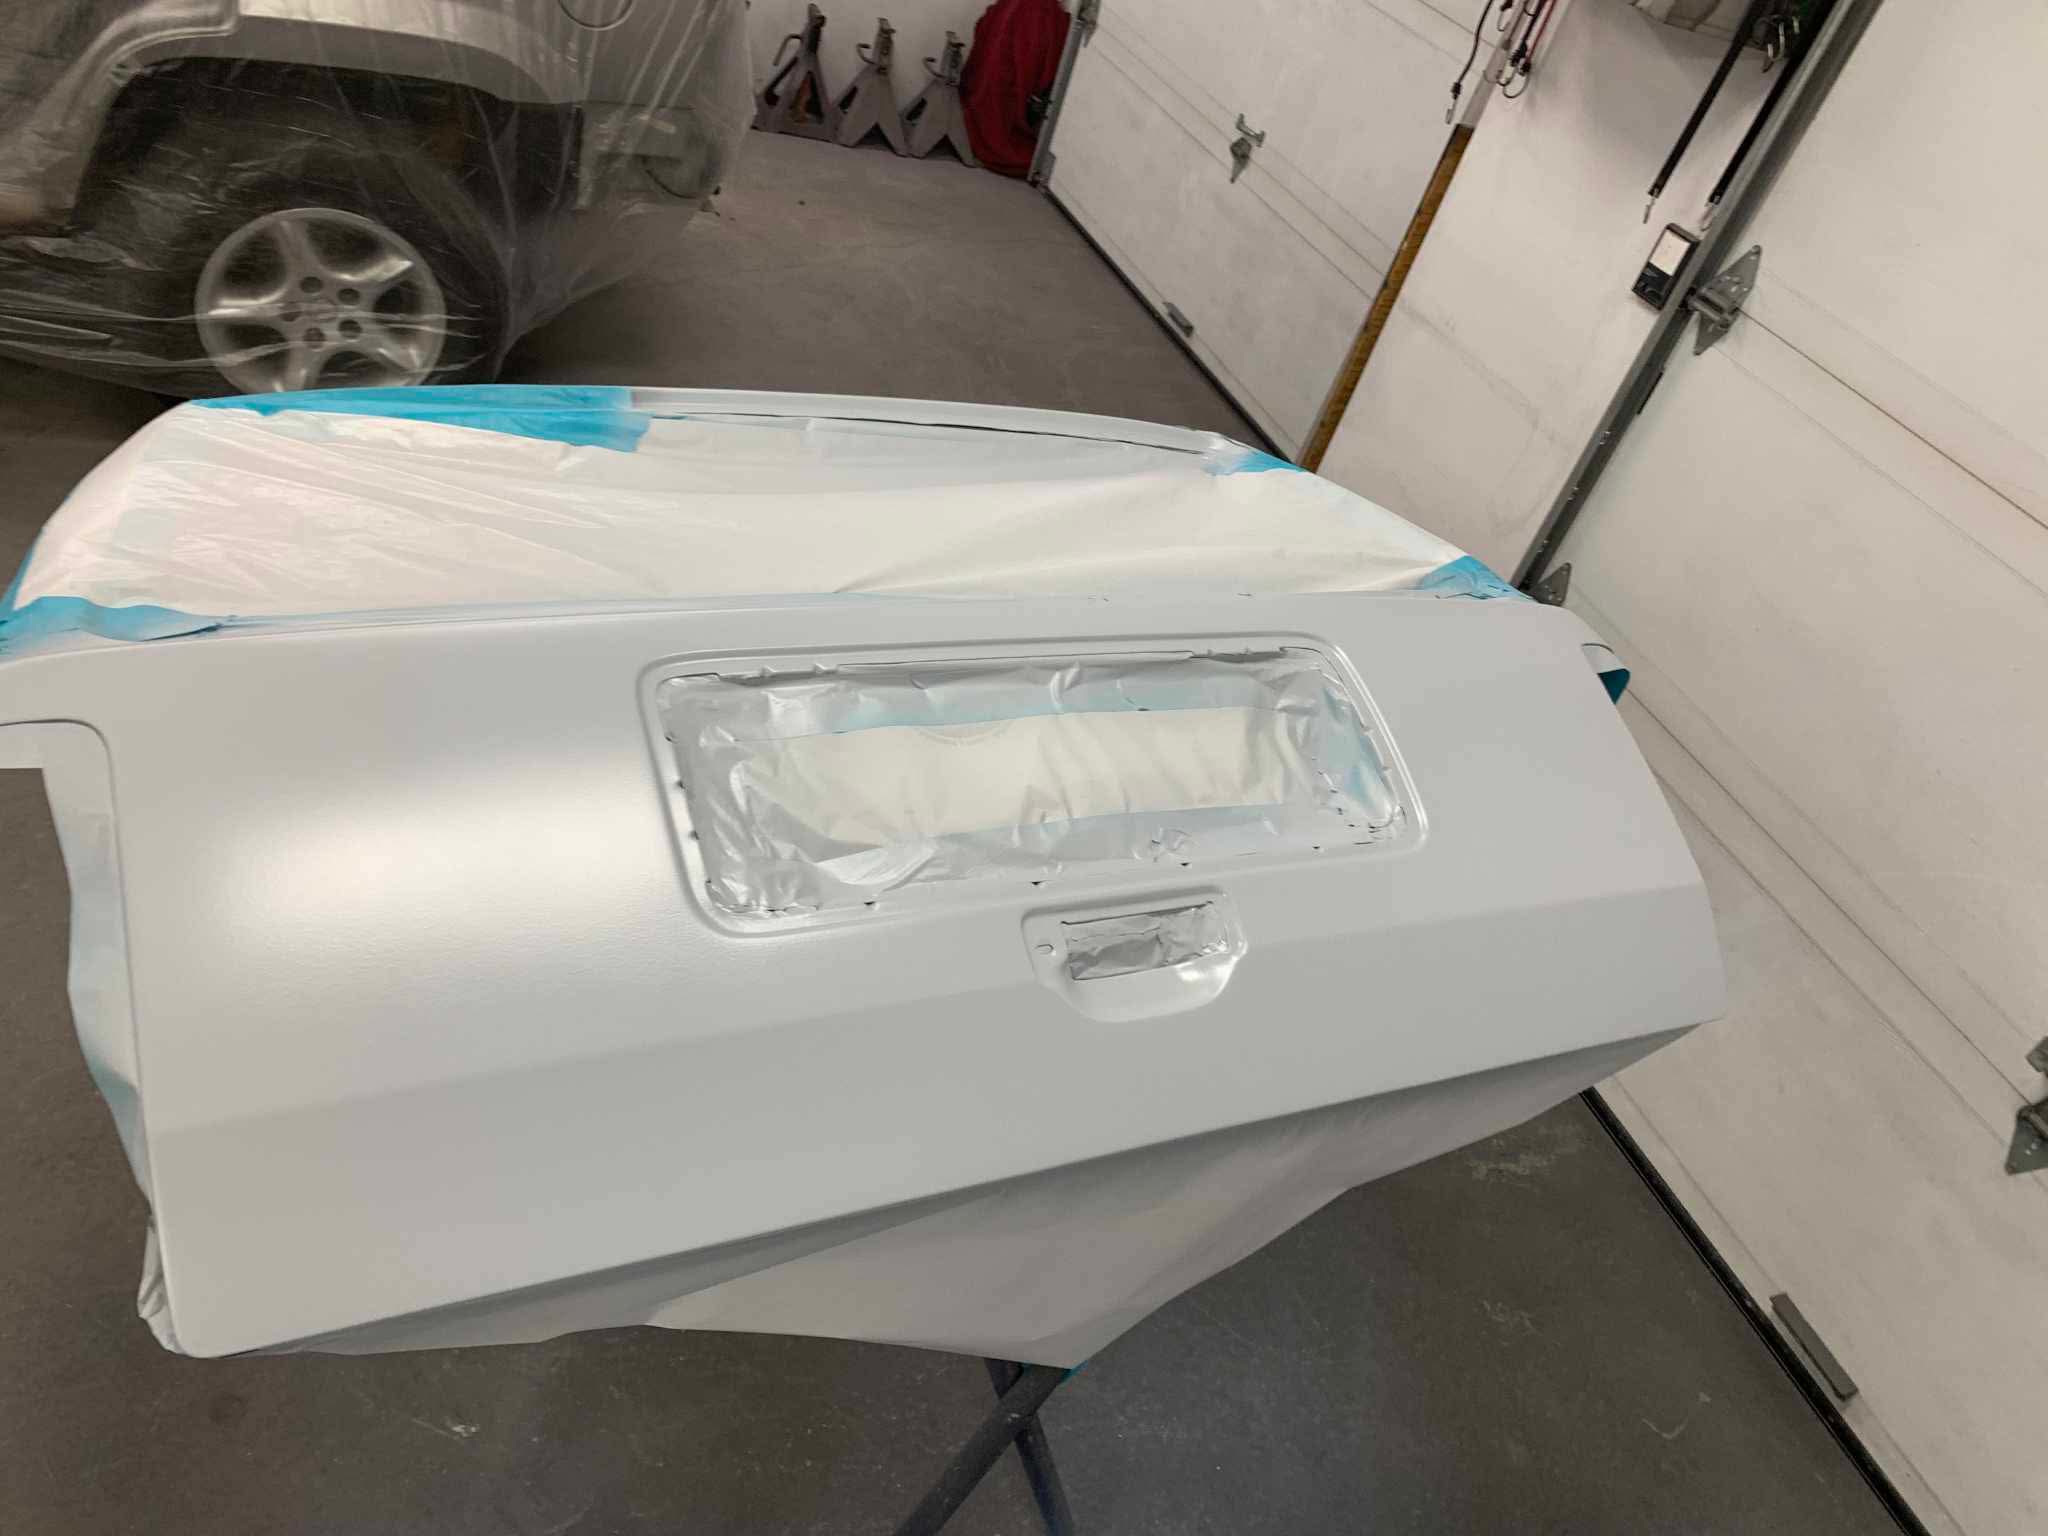
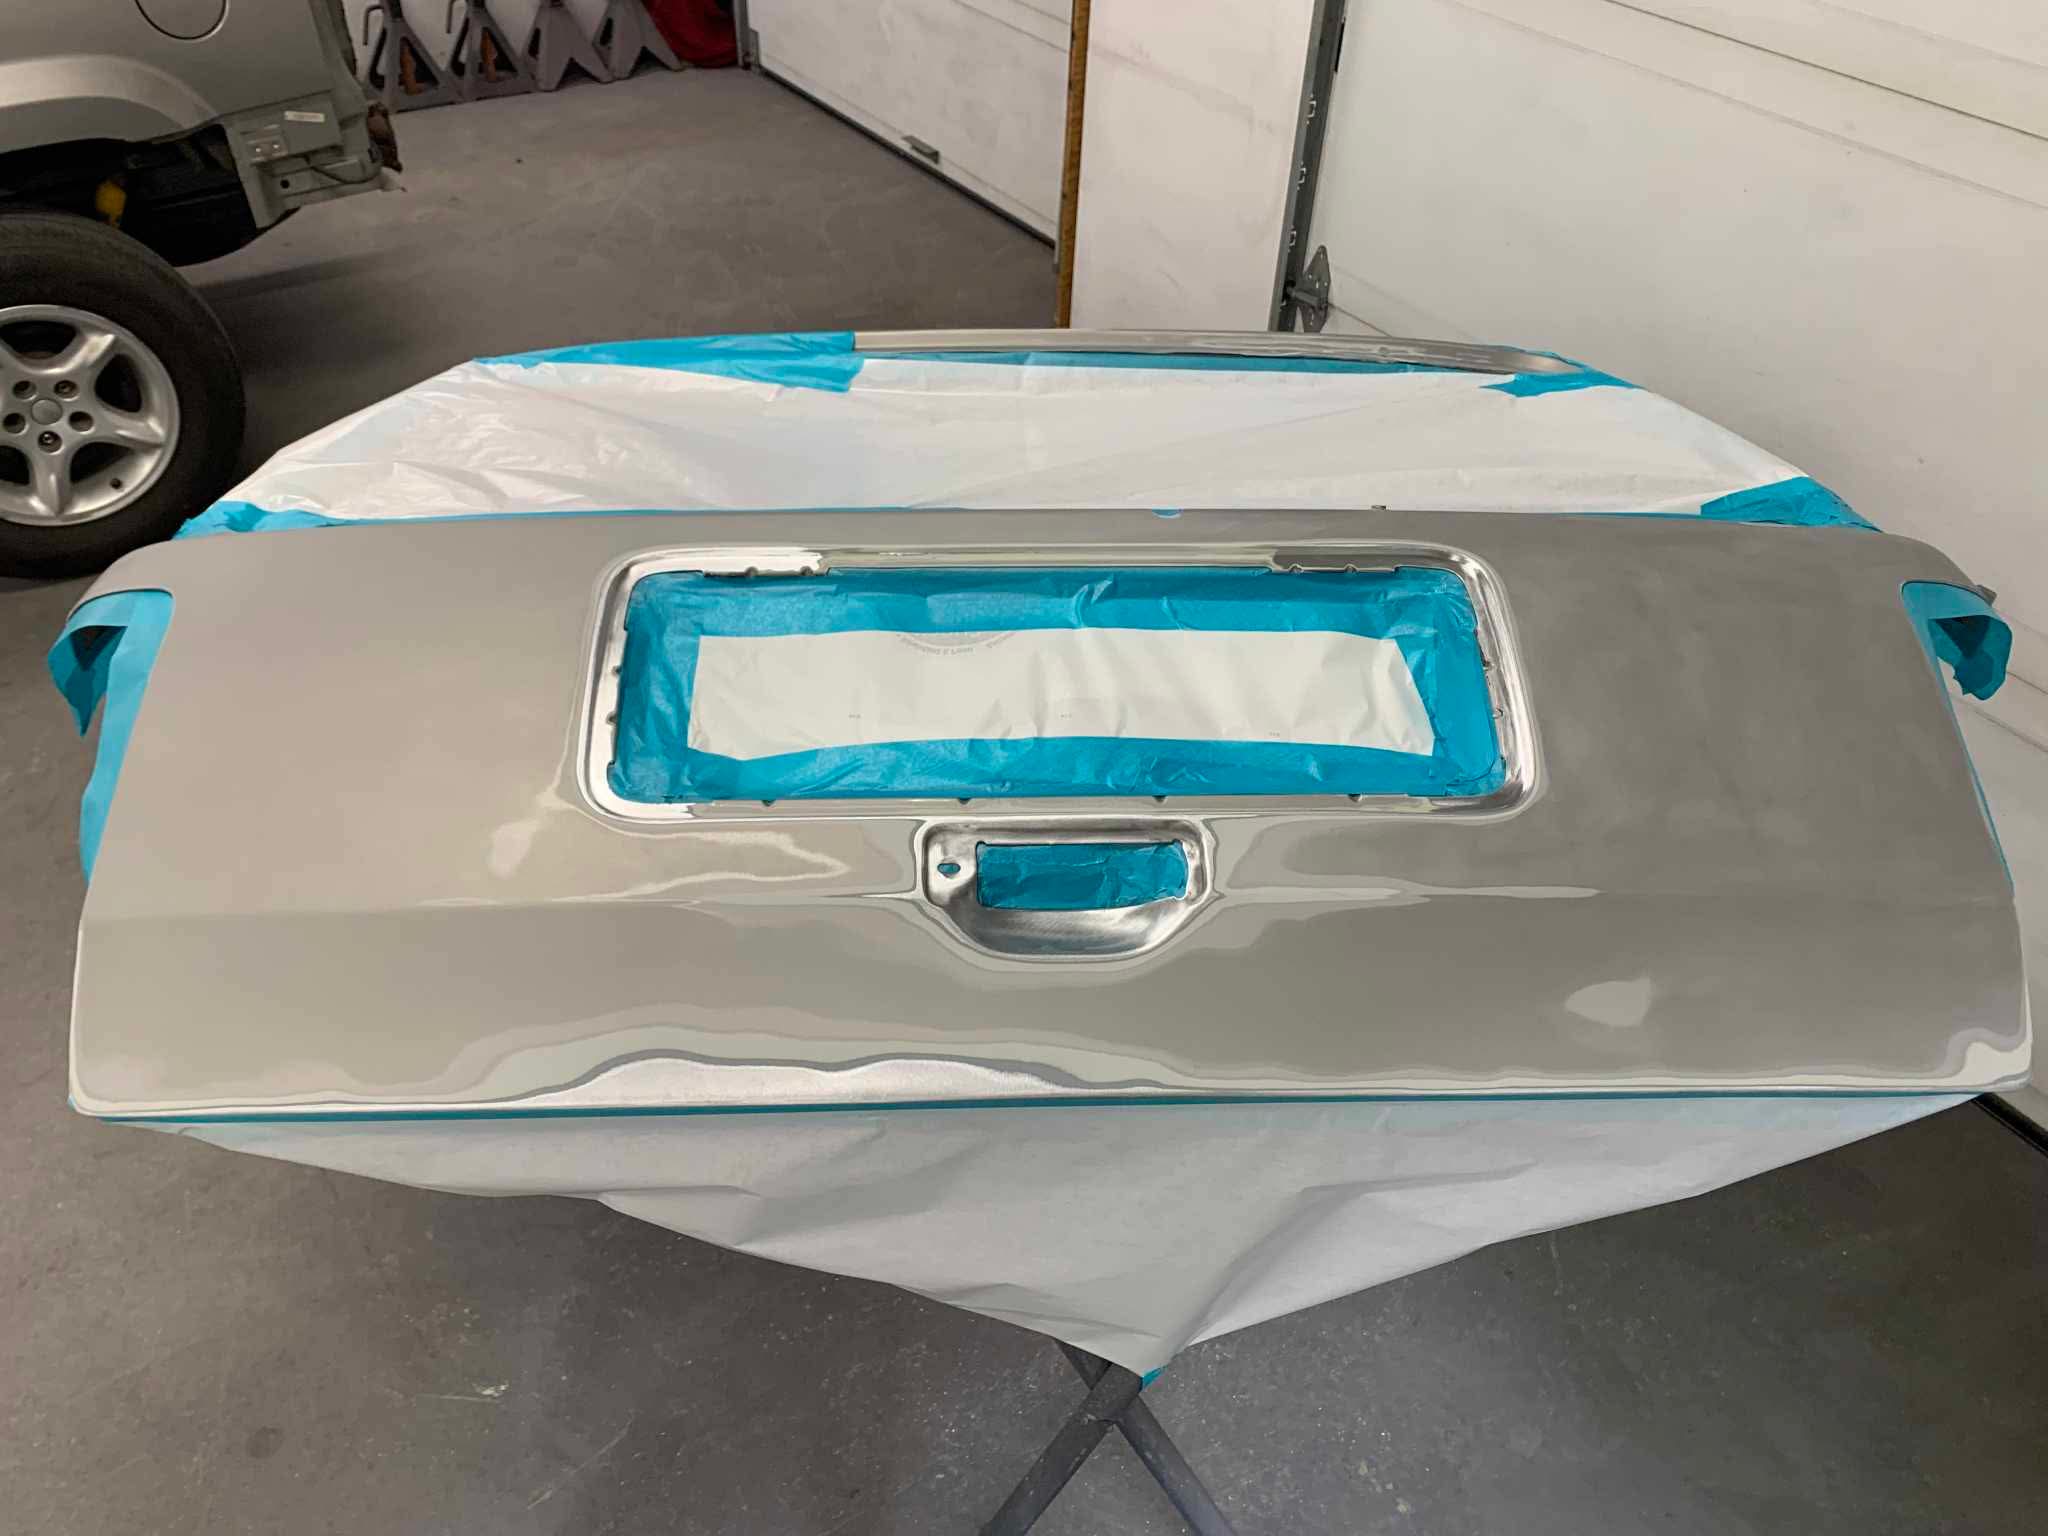
I supplied the rocker panels, fenders, a few badges, and an ARB front bumper. The shop handled everything else — cutting out the rusted sections, fitting and welding in new sheet metal throughout, grinding the seams, priming and painting. The liftgate bottom edge got new metal stitched in with a full row of plug welds. Same approach across the doors and quarters: cut back to clean metal, fit the patch, weld it in, grind it flat.
The Bill
The restoration came to $25,397 CAD taxes included in labour and shop costs, not counting the parts I sourced separately. That’s a number that gives people pause, and honestly it gave me pause too. But a solid ZJ 5.9 Limited with a sound frame doesn’t come up often, and doing it right once is better than doing it halfway and dealing with it again in two years.
Where It’s At
It drives. The 360 pulls hard, the thing sits the way a ZJ should, and the ARB bumper up front gives it the right look for where it’s going. There’s still more I want to do — the offroading side of things, what it’s actually built for — but getting the body sorted first was the right call. Everything else builds on top of a solid foundation.